sourcemap文件泄露漏洞
sourcemap文件泄露漏洞
本文转自小心灵呀 并作补充
最近进行渗透测试时,时常遇到xray扫出sourcemap文件,每次扫到都要百度,因此做个笔记。
漏洞原理
在日常测试时,经常会遇到以js.map为后缀的文件
这是jQuery中的一个新功能,支持Source Map
非常多Webpack打包的站点都会存在js.map文件.
通过sourcemap可还原前端代码找到API,间接性获取未授权访问漏洞什么是Source map
简单说,Source map就是一个信息文件,里面储存着位置信息。转换后的代码的每一个位置,所对应的转换前的位置。
有了它,出错的时候,除错工具将直接显示原始代码,而不是转换后的代码,这无疑给开发者带来了很大方便。
漏洞复现
使用xray扫到 dirscan/sourcemap/default 漏洞。
直接访问链接可下在sourcemap文件,利用该文件还原源代码需使用reverse-sourcemap工具。
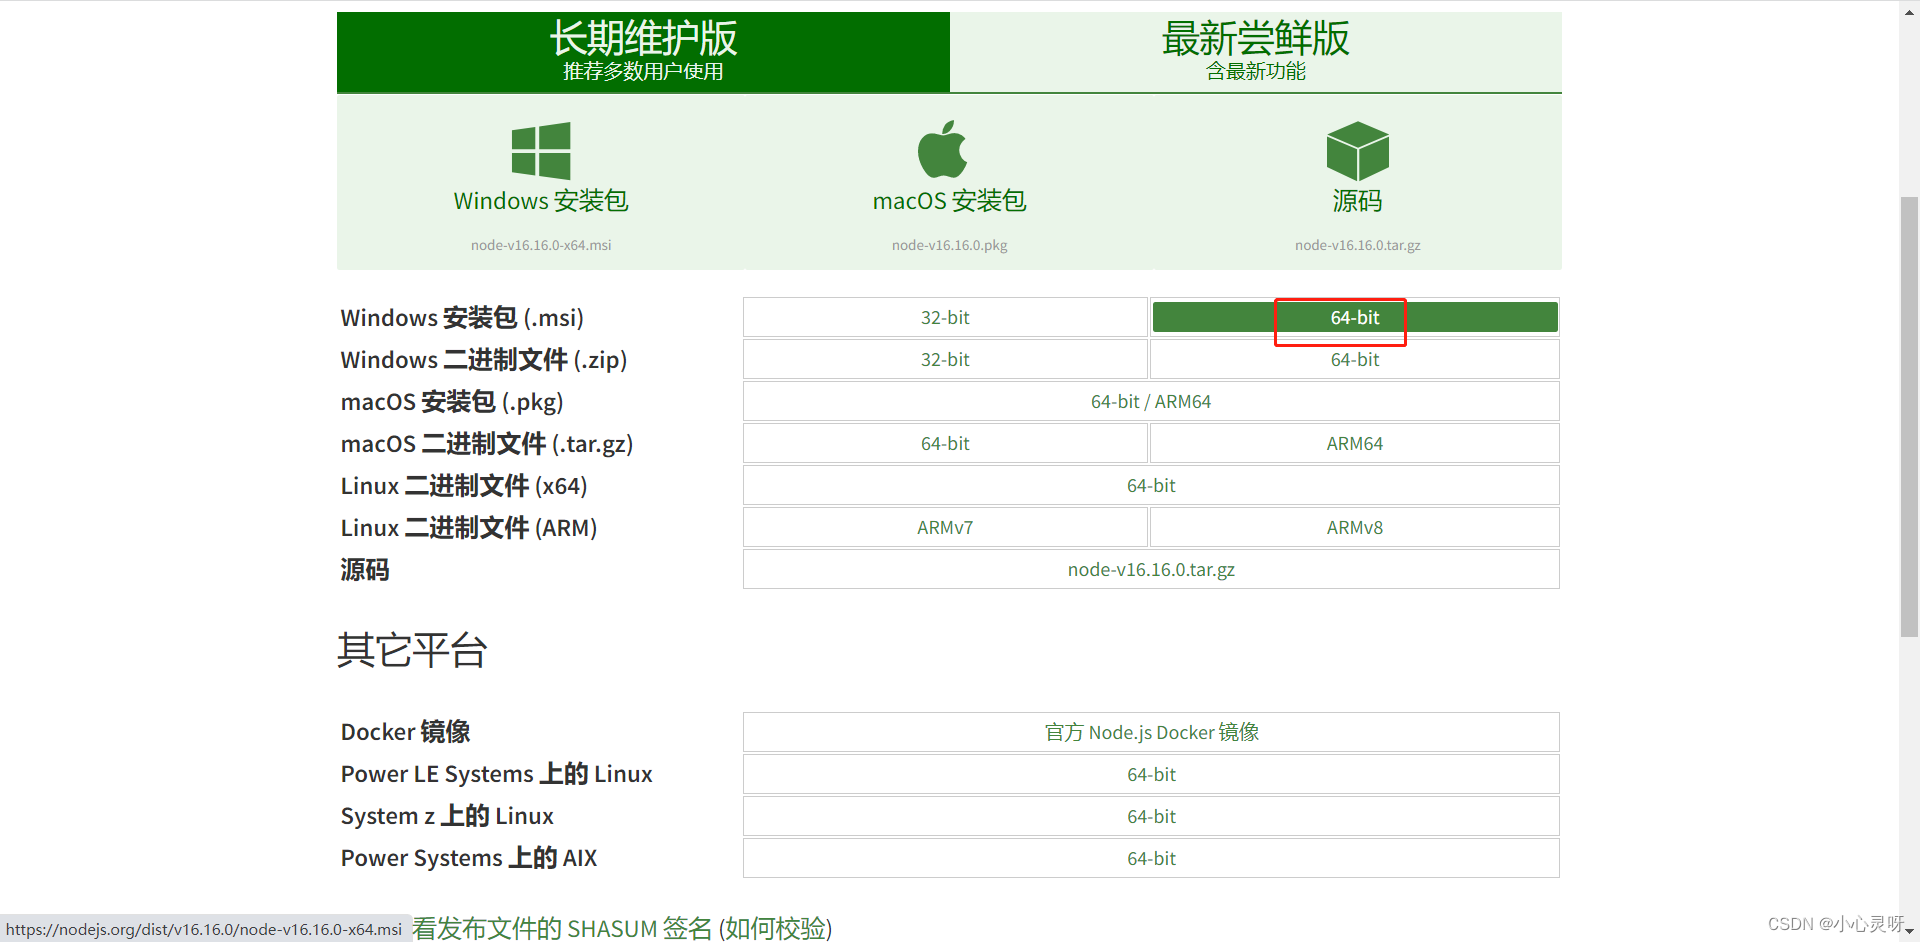
先安装:nodejs,
下载地址:https://nodejs.org/zh-cn/download/
选择适合自己操作系统的版本:
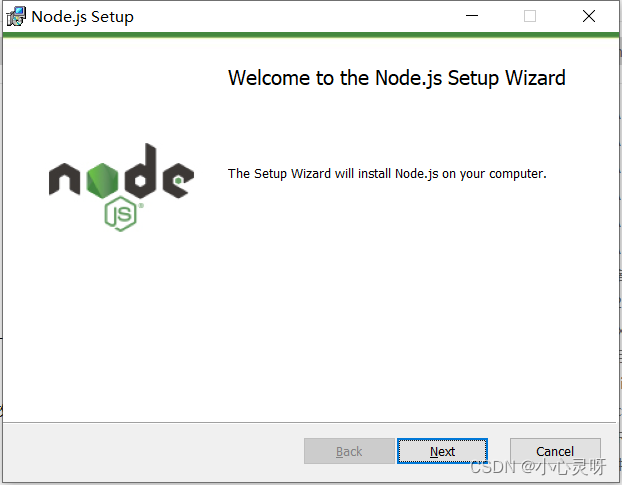
双击下载后的文件,一路点击 next即可成功安装
安装完nodejs后,控制台输入:
即可查看安装的版本。
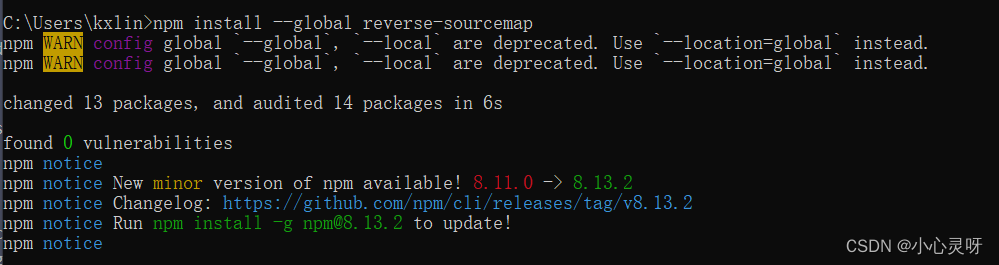
然后安装 reverse-sourcemap
安装完成(PS:我电脑中已经有reverse-sourcemap,所以大家如果为初次安装看到信息可能跟我不一样)。
安装完成后,将其加入环境变量
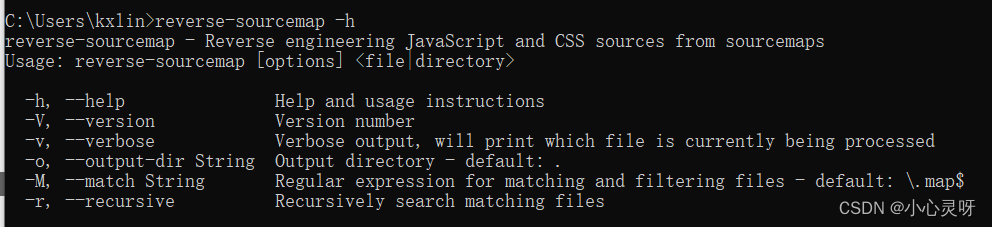
检查是否安装成功:
安装成功
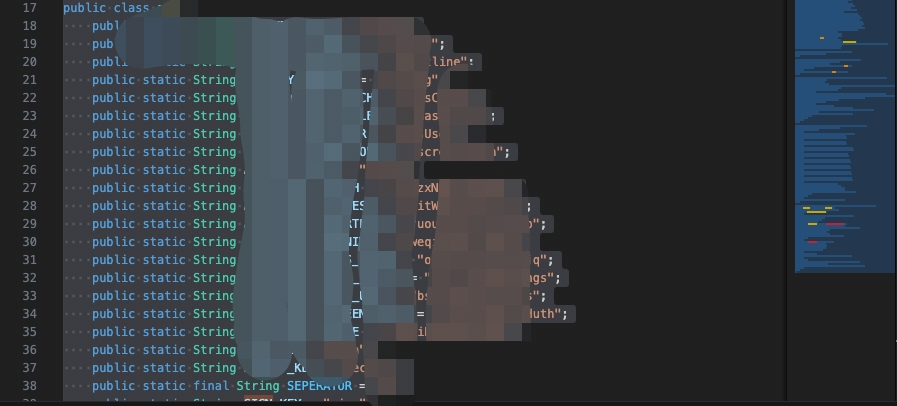
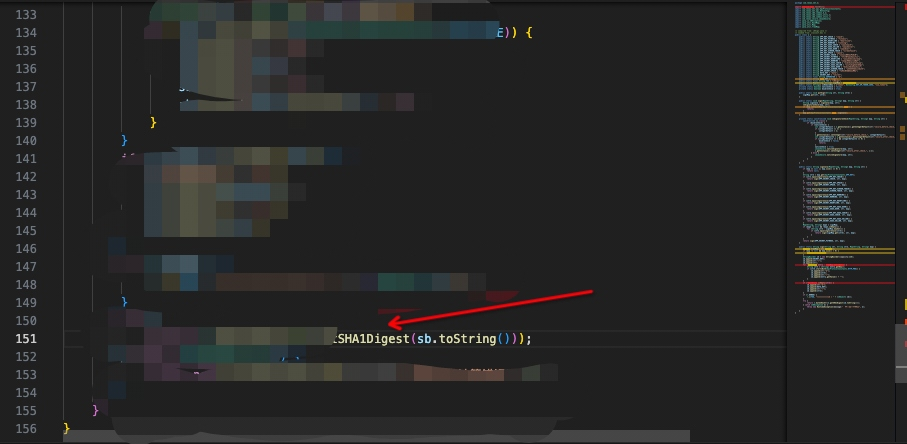
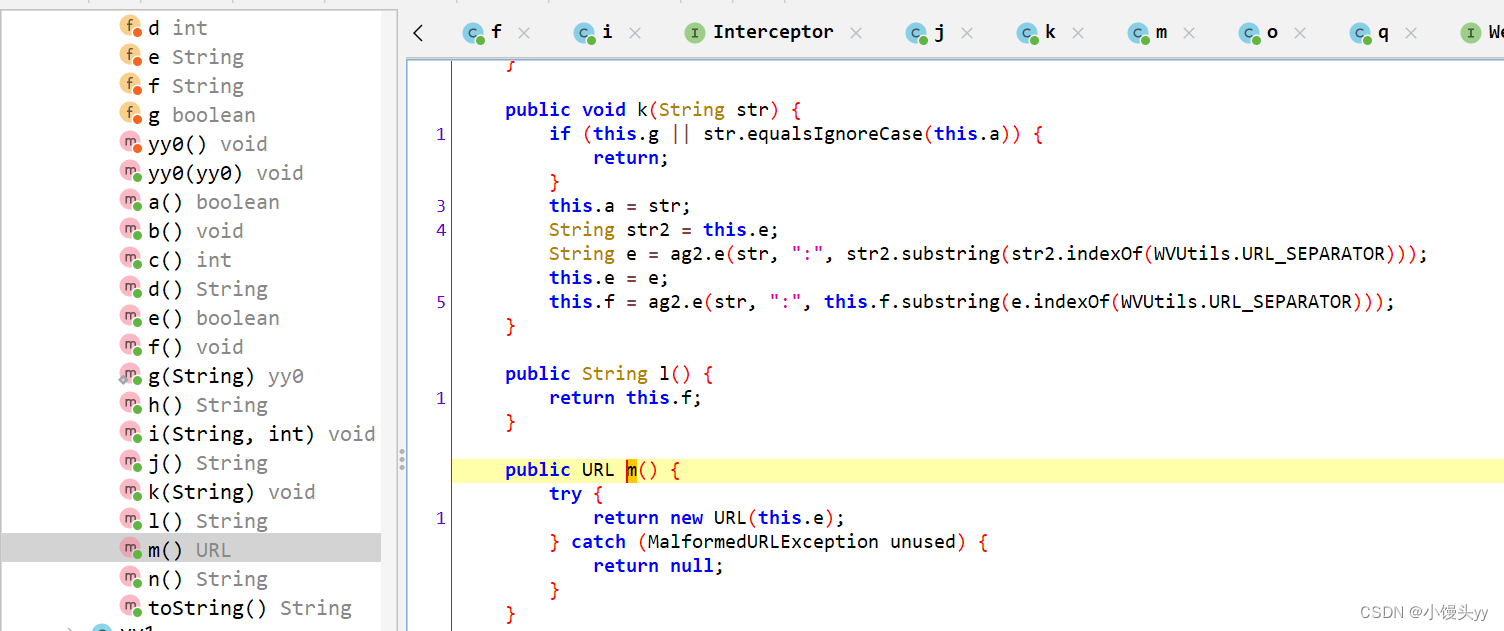
还原map文件
map文件会还原到 output文件
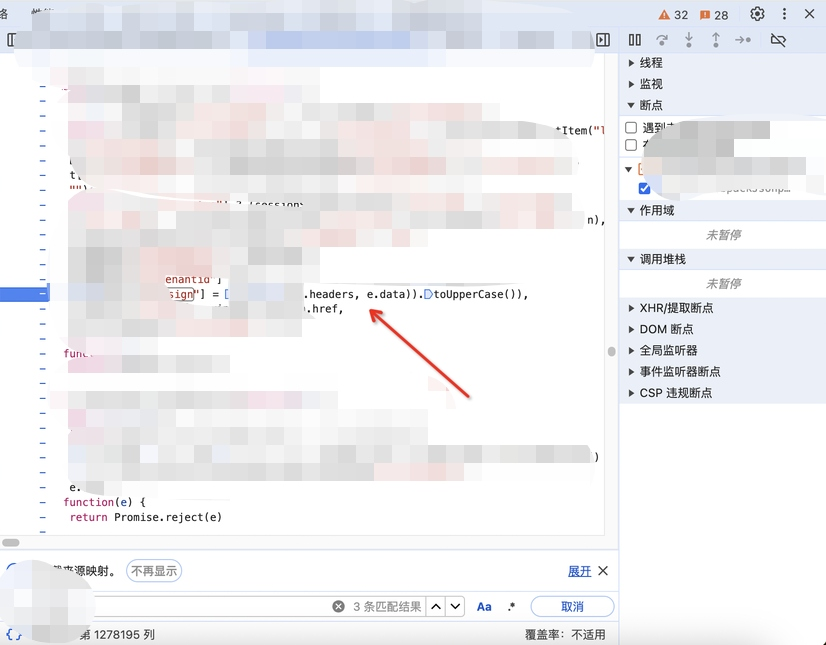
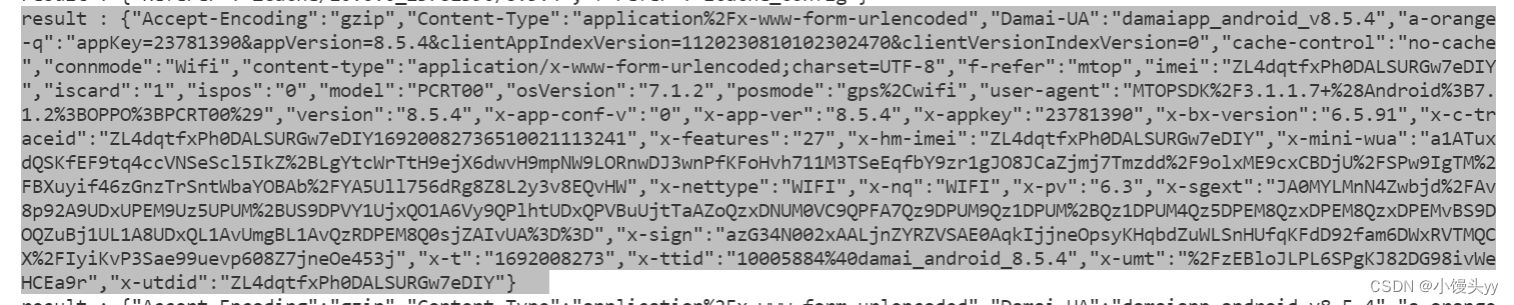
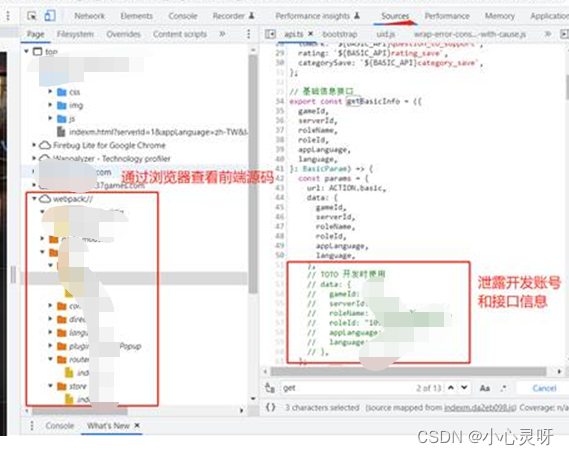
同时还可以通过浏览器,开发者模式-source模块查看前端源代码


漏洞修复
临时的解决方法就是删除代码目录下的.map文件;
永久的解决方法就是在build的时候禁用产生map文件的功能;
在scripts/build下的build.js 文件中添加如下配置:
process.env.GENERATE_SOURCEMAP = ‘false’;
重新build就不会再产生sourcemap文件了