CVE-2024-38816 Spring Framework 目录遍历漏洞详细分析
CVE-2024-38816 Spring Framework 目录遍历漏洞详细分析
本文转自 真爱和自由 并作补充
漏洞描述
https://spring.io/security/cve-2024-38816
通过功能性 Web 框架 WebMvc.fn 或 WebFlux.fn 提供静态资源的应用程序容易受到路径遍历攻击。攻击者可以编写恶意 HTTP 请求并获取文件系统上任何可由 Spring 应用程序正在运行的进程访问的文件。
具体来说,当以下两个条件都成立时,应用程序就容易受到攻击:
- Web 应用程序用于
RouterFunctions提供静态资源- 资源处理明确配置了
FileSystemResource位置但是,当以下任何一项满足时,恶意请求都会被阻止和拒绝:
- Spring Security HTTP 防火墙正在使用中
- 应用程序在 Tomcat 或 Jetty 上运行
受影响的 Spring 产品和版本
Spring 框架
- 5.3.0 - 5.3.39
- 6.0.0 - 6.0.23
- 6.1.0 - 6.1.12
- 较旧的、不受支持的版本也受到影响
基础知识
首先分析一个cve说实话我是不太了解spring框架的,这时候就需要疯狂拷打GPT了
WebMvc.fn
和WebFlux.fnWebMvc
WebMvc 是 Spring Framework 提供的传统的 MVC(Model-View-Controller)架构,用于构建 web 应用程序。它使用的是 Servlet API,适合于构建基于线程的同步 web 应用。其基本组成包括:
- Controller:处理 HTTP 请求的主要组件。
- View:用于渲染响应的模板(如 JSP、Thymeleaf 等)。
- Model:包含应用程序的核心数据。
WebFlux
WebFlux 是 Spring 5 中引入的模块,专门用于构建异步、非阻塞的 web 应用,适合于高并发和 I/O 密集型的场景。WebFlux 基于反应式编程模型,允许应用在处理请求时不阻塞线程,从而提高了性能。
RouterFunctions 和 FileSystemResource
RouterFunctions
RouterFunctions是Spring WebFlux的一部分,它提供了一种函数式编程模型来定义请求路由和处理。使用RouterFunctions,你可以创建一个路由,它将HTTP请求映射到处理这些请求的函数上。FileSystemResource
FileSystemResource是Spring框架中的一个类,它表示文件系统中的一个资源,通常用于读取和写入文件。它实现了org.springframework.core.io.Resource接口。
环境搭建
这里就用webflux来举例子
首先选择spring的版本,只需要在影响版本里面的就好了
2
3
4
<groupId>org.springframework.boot</groupId>
<artifactId>spring-boot-starter-webflux</artifactId>
</dependency>然后因为要满足
当以下两个条件都成立时,应用程序就容易受到攻击:
- Web 应用程序用于
RouterFunctions提供静态资源- 资源处理明确配置了
FileSystemResource位置可以问问gpt啥的
创建一个漏洞代码
2
3
4
5
6
7
public class Config {
public RouterFunction<ServerResponse> test() {
return RouterFunctions.resources("/static/**", new FileSystemResource("D:/phpstudy_pro/WWW/"));
}
}
漏洞复现
首先我们在D盘放一个文件,用于测试
在1.txt写入flag{scueess}
然后尝试访问路由
2
3
4
5
6
7
8
9
10
11
12
13
14
15
Host: 127.0.0.1:8888
sec-ch-ua: "Chromium";v="125", "Not.A/Brand";v="24"
sec-ch-ua-mobile: ?0
sec-ch-ua-platform: "Windows"
Upgrade-Insecure-Requests: 1
User-Agent: Mozilla/5.0 (Windows NT 10.0; Win64; x64) AppleWebKit/537.36 (KHTML, like Gecko) Chrome/125.0.6422.112 Safari/537.36
Accept: text/html,application/xhtml+xml,application/xml;q=0.9,image/avif,image/webp,image/apng,*/*;q=0.8,application/signed-exchange;v=b3;q=0.7
Sec-Fetch-Site: none
Sec-Fetch-Mode: navigate
Sec-Fetch-User: ?1
Sec-Fetch-Dest: document
Accept-Encoding: gzip, deflate, br
Accept-Language: zh-CN,zh;q=0.9
Connection: keep-alive
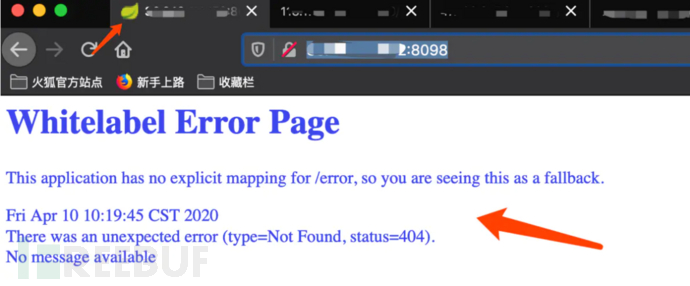
可以发现是成功了
漏洞分析
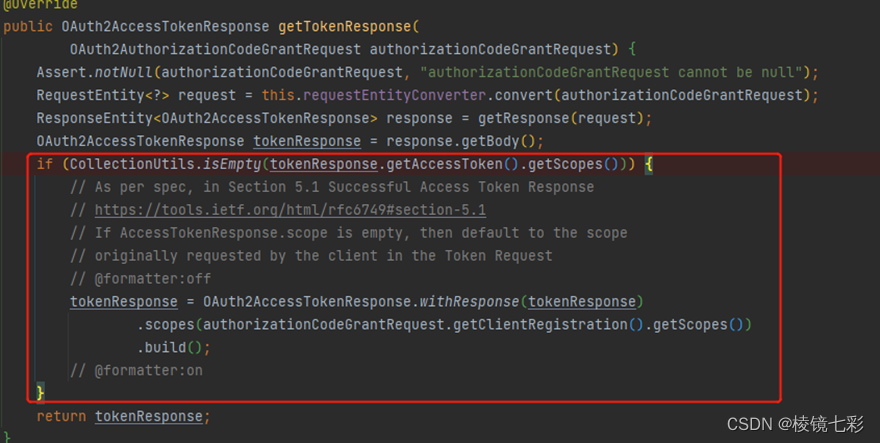
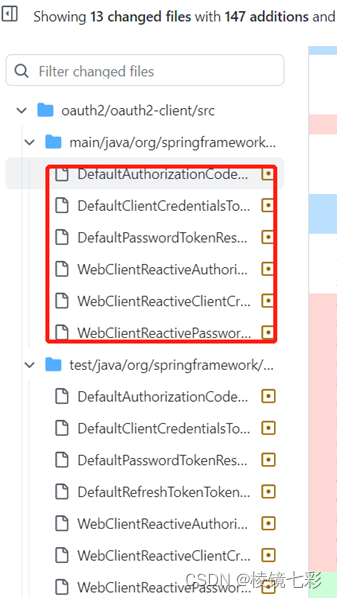
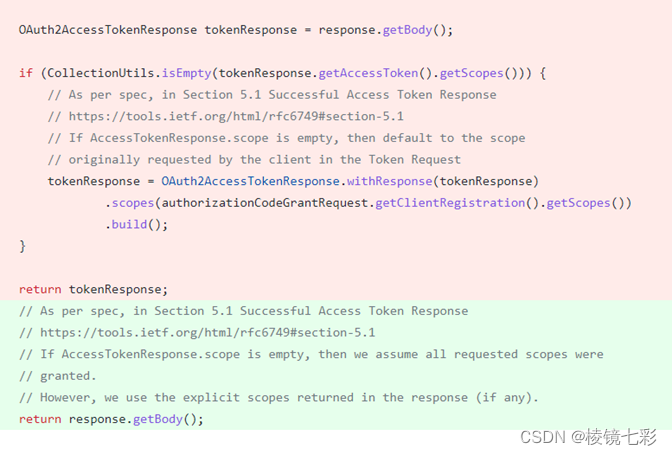
先查看官方的diff确定漏洞代码位置
是在PathResourceLookupFunction类,如何修复的先不关心,当然如果很明显就可以更快,我们把关键方法给打个断点慢慢看一看,然后慢慢分析调试一会就能知道个大概
因为是使用了RouterFunctions处理,会来到如下代码
2
3
4
5
6
7
8
9
10
11
12
13
14
15
16
17
18
19
20
21
22
23
PathContainer pathContainer = request.requestPath().pathWithinApplication();
if (!this.pattern.matches(pathContainer)) {
return Mono.empty();
} else {
pathContainer = this.pattern.extractPathWithinPattern(pathContainer);
String path = this.processPath(pathContainer.value());
if (path.contains("%")) {
    path = StringUtils.uriDecode(path, StandardCharsets.UTF_8);
}
if (StringUtils.hasLength(path) && !this.isInvalidPath(path)) {
    try {
        Resource resource = this.location.createRelative(path);
        return resource.isReadable() && this.isResourceUnderLocation(resource) ? Mono.just(resource) : Mono.empty();
} catch (IOException var5) {
throw new UncheckedIOException(var5);
}
} else {
return Mono.empty();
}
}
}首先是从pathContainer.value()获取path,然后由processPath处理
processPath方法如下
2
3
4
5
6
7
8
9
10
11
12
13
14
15
16
17
18
boolean slash = false;
for(int i = 0; i < path.length(); ++i) {
if (path.charAt(i) == '/') {
slash = true;
} else if (path.charAt(i) > ' ' && path.charAt(i) != 127) {
if (i == 0 || i == 1 && slash) {
return path;
}
path = slash ? "/" + path.substring(i) : path.substring(i);
return path;
}
}
return slash ? "/" : "";
}简单来讲就是
去除路径开头的无效字符:忽略空格、控制字符等无效字符,找到第一个有效字符。
保留根路径:如果路径开头有斜杠
/,则确保处理后的路径以/开头。快速返回有效路径:如果路径是根路径或有效路径已经以
/开头,直接返回,不做额外处理。输入:
" /home/user"
输出:"/home/user"
- 去除了路径开头的空格,保留以
/开头的有效路径。输入:
" user/docs"
输出:"user/docs"
- 去除了路径开头的空格,保留从第一个有效字符
u开始的路径。输入:
"////"
输出:"/"
- 只有斜杠的情况,返回根路径
/。输入:
" "
输出:""这个处理对我们的../这种没有影响的
然后回到apply
2
3
path = StringUtils.uriDecode(path, StandardCharsets.UTF_8);
}如果包含%,就是url编码的标志,然后会继续url解码
最终确定路径的点是在
2
3
4
try {
Resource resource = this.location.createRelative(path);
return resource.isReadable() && this.isResourceUnderLocation(resource) ? Mono.just(resource) : Mono.empty();关键在于this.isInvalidPath(path)判断
2
3
4
5
6
7
8
9
10
11
12
13
14
if (!path.contains("WEB-INF") && !path.contains("META-INF")) {
if (path.contains(":/")) {
String relativePath = path.charAt(0) == '/' ? path.substring(1) : path;
if (ResourceUtils.isUrl(relativePath) || relativePath.startsWith("url:")) {
return true;
}
}
return path.contains("..") && StringUtils.cleanPath(path).contains("../");
} else {
return true;
}
}我们需要的是返回false,看来能够返回的只有一个地方了return path.contains(“..”) && StringUtils.cleanPath(path).contains(“../“);,首先我们可以有..这种字符的存在,因为是&符号连接的,所以终极目的就是StringUtils.cleanPath(path).contains(“../“)返回false
cleanPath方法很长,一步一步分析
这个代码是为了处理windows和linux的差异的,会windows中的
\\或者\转为linux中的/
2
3
4
5
6
7
if (path.indexOf(92) != -1) {
normalizedPath = replace(path, "\\\\", "/");
normalizedPath = replace(normalizedPath, "\\", "/");
} else {
normalizedPath = path;
}然后就是处理前缀了,如果路径没有.直接返回,如果又会处理,还是为了处理windows的场景
58对应的是冒号:,用于检测是否有像C:这样的路径前缀。如果存在前缀(如 Windows 路径中的盘符),将其提取出来。如果前缀中包含
/,则认为它不是有效的前缀(可能是 URL 的一部分),清除它;否则将前缀保留并将路径的主体部分截取出来。
2
3
4
5
6
7
8
9
10
11
12
13
return normalizedPath;
} else {
int prefixIndex = normalizedPath.indexOf(58);
String prefix = "";
if (prefixIndex != -1) {
prefix = normalizedPath.substring(0, prefixIndex + 1);
if (prefix.contains("/")) {
prefix = "";
} else {
pathToUse = normalizedPath.substring(prefixIndex + 1);
}
}然后根据
/拆分路径,将其转换为一个数组pathArray
2
3
Deque<String> pathElements = new ArrayDeque(pathArray.length);
int tops = 0;
如果包含.则不会走到
pathElements.addFirst(element);相当于去除,中间对于tops的处理就是相当于在处理..的路径穿越字符了
2
3
4
5
6
7
8
9
10
11
12
String element = pathArray[i];
if (!".".equals(element)) {
if ("..".equals(element)) {
++tops;
} else if (tops > 0) {
--tops;
} else {
pathElements.addFirst(element);
}
}
}结合
2
3
4
5
6
7
8
9
10
++tops;
} else if (tops > 0) {
--tops;
}
......
for(i = 0; i < tops; ++i) {
pathElements.addFirst("..");
}处理前和处理后的代码
应该能读懂这个逻辑吧
然后最后就是拼接了
2
return prefix.isEmpty() ? joined : prefix + joined;
如果我们想要返回的路径不包含../就得从其中一步找点破绽,其实就是连猜带蒙多去尝试各种各样的路径
其实考虑一下,它是类似于这种就会实现有../但是返回的时候不包含../
比如
a/b/../c
经过处理后,路径将被简化为
a/b/d,因为c/..相当于取消了c目录的影响这里我们希望b能够占个位置,但是又不会当作目录的一个字符
代码逻辑是以/作为分割
空字符也算做一个元素,按理来说构造这样一个字符就ok了
自己写一个测试类
2
3
4
5
6
7
8
9
10
11
12
13
14
15
16
17
18
19
20
21
22
23
24
25
26
27
import org.springframework.util.ResourceUtils;
import org.springframework.util.StringUtils;
public class test {
public static void main(String[] args) {
String path = "/static/////../../1.txt";
System.out.println(isInvalidPath(path));
}
public static boolean isInvalidPath(String path) {
if (!path.contains("WEB-INF") && !path.contains("META-INF")) {
if (path.contains(":/")) {
String relativePath = path.charAt(0) == '/' ? path.substring(1) : path;
if (ResourceUtils.isUrl(relativePath) || relativePath.startsWith("url:")) {
return true;
}
}
return path.contains("..") && StringUtils.cleanPath(path).contains("../");
} else {
return true;
}
}
}
可以看到确实是可以的,但是实际中不行,是因为最开始分析的processPath对我们的路径最了标准化处理
然后思路就回到如何绕过这个标准化,就是不能出现////这种连起来的,再结合刚刚对windows的处理\
那我们可以构造这样一个路径
首先processPath处理后原样输出,而标准化处理后就变为
然后就可以了